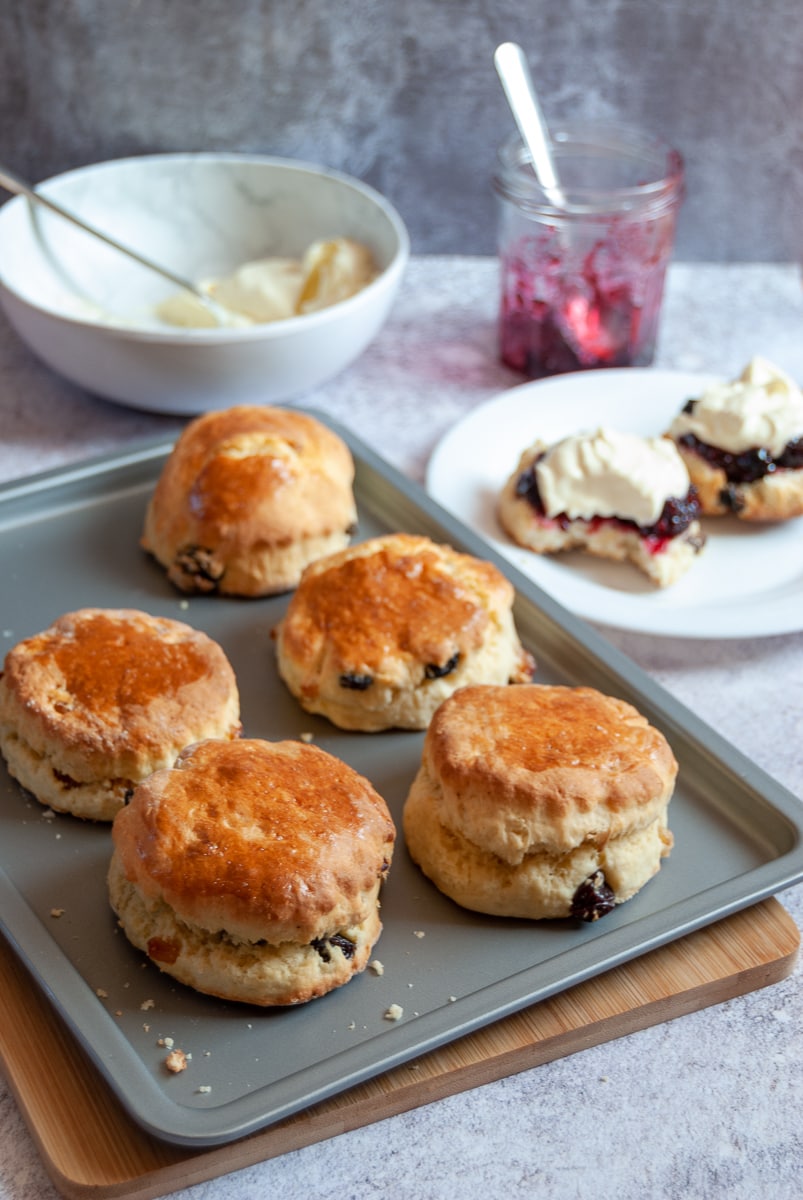
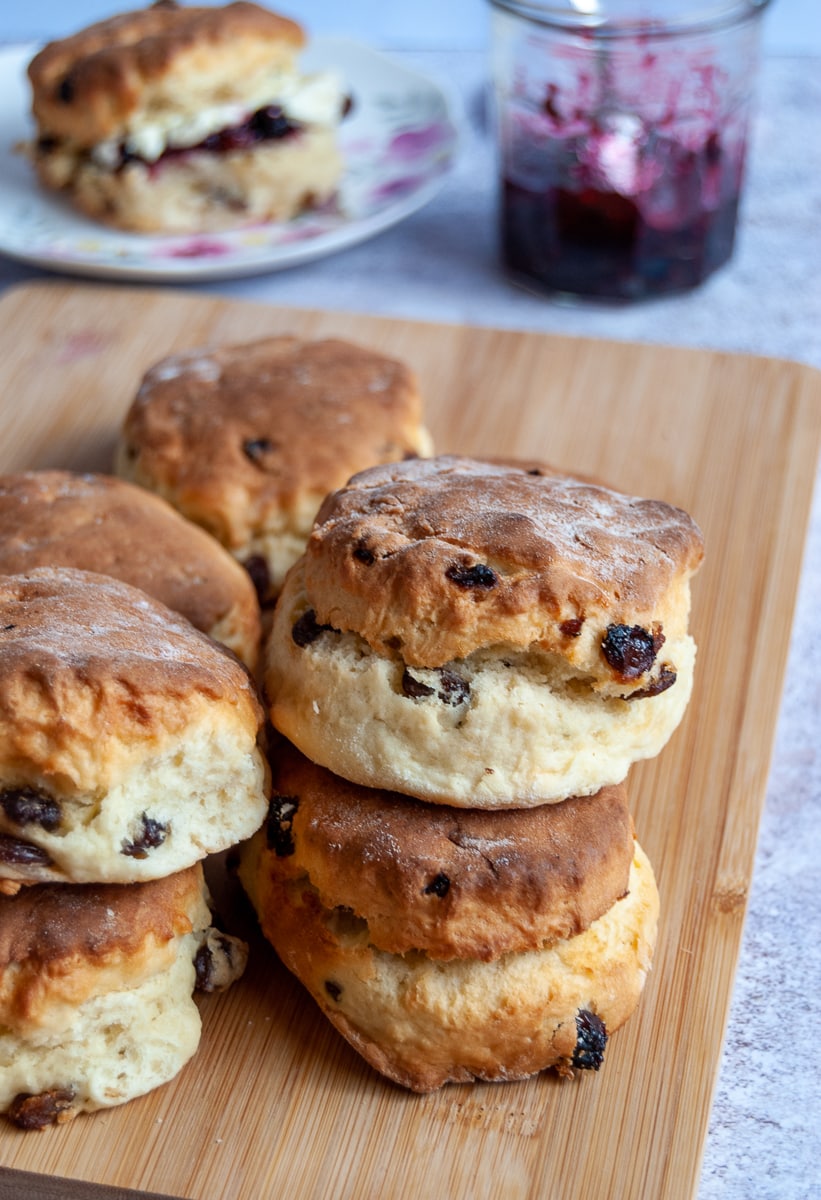
An easy, foolproof recipe for classic Fruit Scones. Follow my ultimate guide on how to make light and fluffy fruit scones that you’ll be proud of! Goodbye, tough, flat scones!
Whenever I’m talking about baking with anyone, one of the phrases I hear most often is “I can’t bake a good scone to save my life”.
Here are just a couple of the most common complaints when making scones –
- “They don’t rise – they look like flat biscuits/cookies”
- “They turn out tough and dry – good enough for birds, but I certainly wouldn’t serve them to anyone”
If all of this sounds familiar, then I urge you to give this recipe a go – as long as you follow all my tips, you will be baking scones that wouldn’t look out of place in the poshest tea room. I promise!
And believe me – I know because I have made all these mistakes in the past! When I first started baking, my scones certainly weren’t the best – they were a little flat and sad looking. But I kept on practicing until I finally made a scone anyone would be proud of.
As much as I’m still a big fan of this light and fluffy scone recipe by Paul Hollywood, I wanted to come up with a slightly more straightforward recipe – not that it’s a complicated method by any means, but Paul’s recipe calls for strong bread flour.
I figured that most people have a bag of plain or self-raising flour in their cupboard most of the time – if a national flour shortage isn’t an issue like in these exceptional times of course!! – but unless you’re a keen baker/bread maker, you won’t generally tend to keep bread flour in at all times.
how to make perfect fruit scones
- The most important thing to remember when making scones is to handle the dough lightly. If you don’t handle the dough with care, your scones will be tough.
- Sieve your dry ingredients together. I’m not big on sifting flour, but I always do when making scones. Delia Smith always does this, so if it’s good enough for her…
- Another really crucial step is the freshness of the baking powder. If it’s been sitting in your cupboard for 2 years, then it’s time to buy a new one! Baking powder loses its effectiveness after a few months of opening, so this could prevent your scones from rising.
- For the best fruit scones, make sure your dried fruit is also as fresh as possible. Sultanas are the best choice for a scone. I often use a mixture of sultanas and raisins. Cranberry and a little finely grated orange zest is a lovely flavour combination for Christmas time!
- Make sure your butter is cold when you rub it into the dry ingredients.
- When it’s time to combine the dry and wet ingredients together, I use a fork to mix them together. I know many people use a butter knife, but I personally prefer to use a fork.
- As soon as all the milk has disappeared and you have what is starting to resemble a rough dough, I ditch the fork and use my hands to bring the dough together.
- When cutting out the scones, don’t twist the cutter or your scones will be lopsided. Personally, I don’t mind a wonky scone at all – if it tastes good, that’s all that matters!
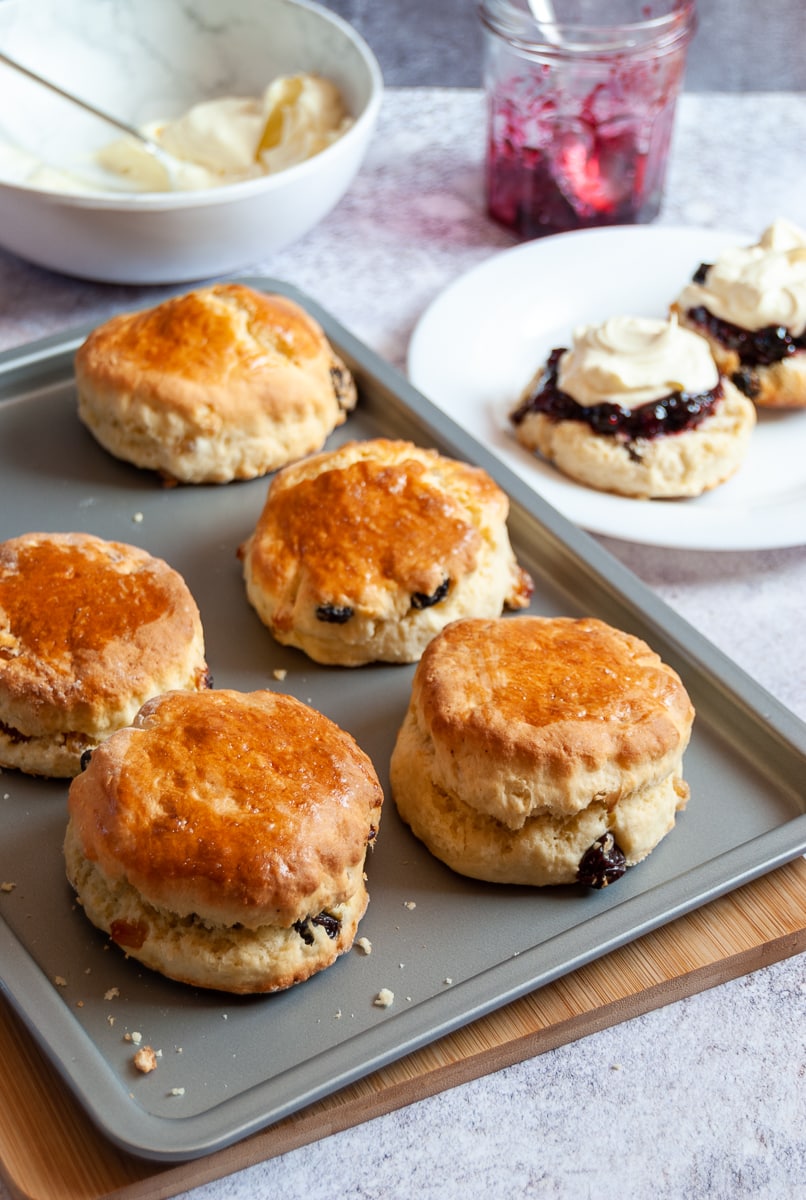
- For a shiny finish, brush the scones with egg wash. Don’t let the egg dribble down the sides of the scones – this can prevent them from rising.
- This scone recipe takes exactly 12 minutes in my oven, but please bear in mind that since all ovens can vary quite dramatically, they might take a couple of minutes longer in yours.
expert tips
what is the secret to a good scone?
To summarise, the three main points to making perfect scones is:
- Make sure your flour and baking powder is fresh
- Don’t handle the scone dough too much – work quickly and lightly. Stop as soon as the dough has come together.
- For tall, well risen scones, don’t pat the dough out too much – and don’t press down hard as this will prevent your scones from rising to perfection.
- When cutting out the scones, push the cutter straight down onto the dough. Do not twist the cutter.
- Pre-heat the oven – scones need an immediate “burst” of heat as soon as they go into the oven so they can rise.
how can i get my fruit scones to rise and be fluffy?
Scones need baking at a high temperature – the baking powder will react to the sudden burst of heat and make the scones rise high and tall.
Keep the scones quite close together on the baking tray – almost touching each other. This will help them to rise evenly.
what should the dough feel like when making scones?
The dough should be slightly wet and sticky – but not too sticky it’s impossible to handle. If you think your dough is a little too sticky, sprinkle your work surface with plenty of flour and flour your cutter when cutting out the scones. A dry dough might be easier to handle, but you will end up with – yep you guessed it – dry, crumbly scones!
should you let scones rest before baking?
Allowing the unbaked scones to sit for 10-15 on the tray before baking allows the gluten to relax, resulting in a more uniform looking scone. So if you have the time, it’s definitely worth doing.
why did my fruit scones not rise?
The two main culprits are usually out of date or stale baking powder or over working the dough. Remember to handle the dough as little as possible.
why are my scones dry and crumbly?
Dry, crumbly scones are usually the result of not adding enough liquid to the dough. I used to be very guilty of this! For the best scones, the dough should be slightly sticky and moist.
why are my scones dense and tough?
As above, not adding enough liquid to the dough can result in a dense, tough scone. Not adding enough baking powder can also be the culprit. For light, airy scones, make sure the butter is cold when you rub it into the dry ingredients.
are scones better with or without eggs?
This can be a controversial one! Some people believe that eggs don’t belong in a scone recipe. I have made countless scone recipes over the years and my personal view is a scone is MUCH better for adding an egg to the mixture. They tend to rise better and are less dense than egg free scones.
Having said that, this cheese scone recipe just works perfectly without an egg. They are the BEST cheese scones I’ve ever tried, and I know lots of you have made them and agree with me.
storing fruit scones
Scones are always best eaten on the day they are baked. Any leftover scones can be stored in an airtight container. I quite like them toasted and spread with butter for breakfast.
freezing
Fruit scones are perfect for freezing. Once the scones are completely cold, freeze them directly on a baking tray. Once they are solid, transfer to freezer bags or a freezer safe box. They will keep for up to three months.
more scone recipes to try
did you make this recipe?
Let me know what you thought of it by leaving a comment below – and please rate the recipe by clicking on the stars in the recipe card.
If you would like to share a picture of your scones on Instagram, don’t forget to tag me so I can see it!
Perfect Fruit Scones
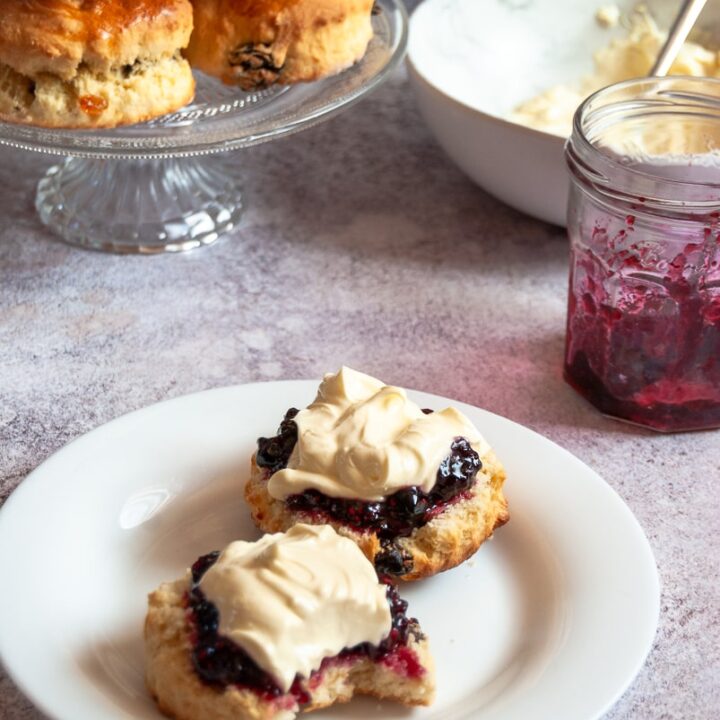
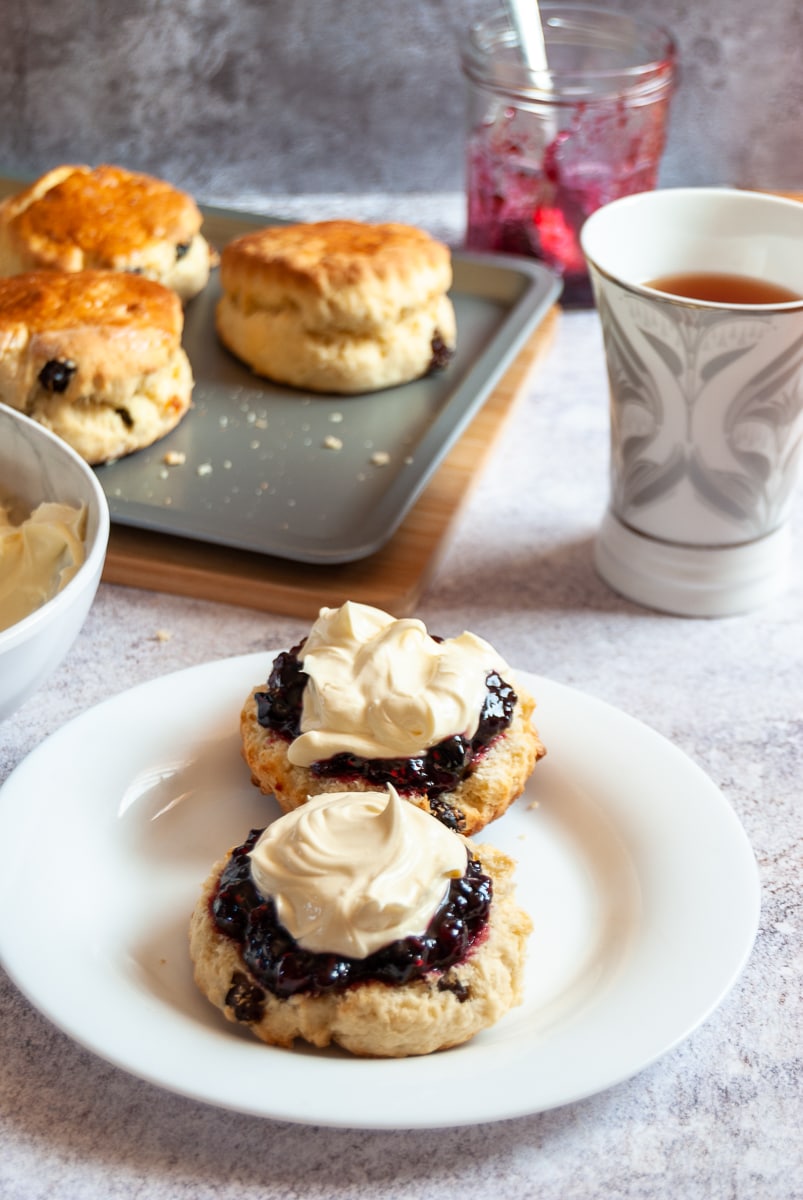
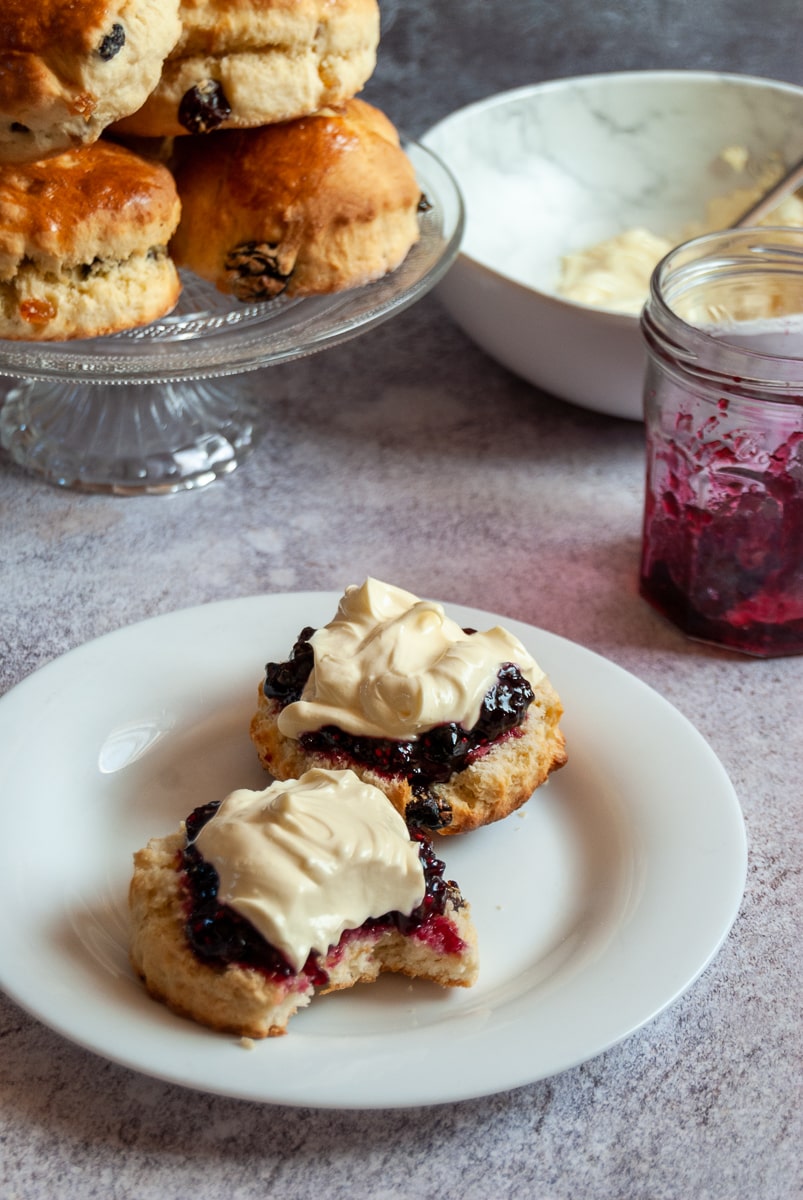
An easy, foolproof recipe for perfect Fruit Scones. Follow my tips and tricks for making light, tall and fluffy scones that you will be proud of! They are so delicious served warm from the oven with butter and jam.
Ingredients
- 450g Plain Flour OR Self Raising Flour
- 1/2 teaspoon fine salt
- 1 (15g) tablespoon baking powder (IMPORTANT NOTE - if using self raising flour, reduce the baking powder to 1 1/2 teaspoons!)
- 100g Cold Butter, diced
- 80g Caster Sugar
- 100g plump Sultanas or Raisins
- 1 Medium Egg
- 250ml Whole Milk or Buttermilk
- One egg, beaten with a pinch of salt for egg wash (optional)
Instructions
- Preheat the oven to 220C/200Fan/400F.
- Sieve the flour, salt and baking powder into a large bowl. Lightly rub in the butter until it is well incorporated into the flour and the mixture resembles breadcrumbs.
- Stir in the caster sugar and the sultanas or raisins. Crack the egg into a measuring jug and beat lightly. Pour in the milk or buttermilk up to the 200ml mark and give the mixture a stir.
- Make a well in the dry ingredients and pour in the egg/milk. Using a large fork or butter knife, lightly mix the ingredients together. If the mixture seems to dry, pour in a little more milk, a little at a time. At this stage I ditch the fork/knife and use my hands to lightly mix the dough. It should be soft and slightly sticky, but not too sticky to handle.
- Turn the dough out onto a lightly floured work surface. Fold the dough in half, then turn the dough 90 degrees and repeat. This method is called “chaffing”. Repeat a few times until the top of the dough is as smooth as possible. Take care not to overwork the dough.
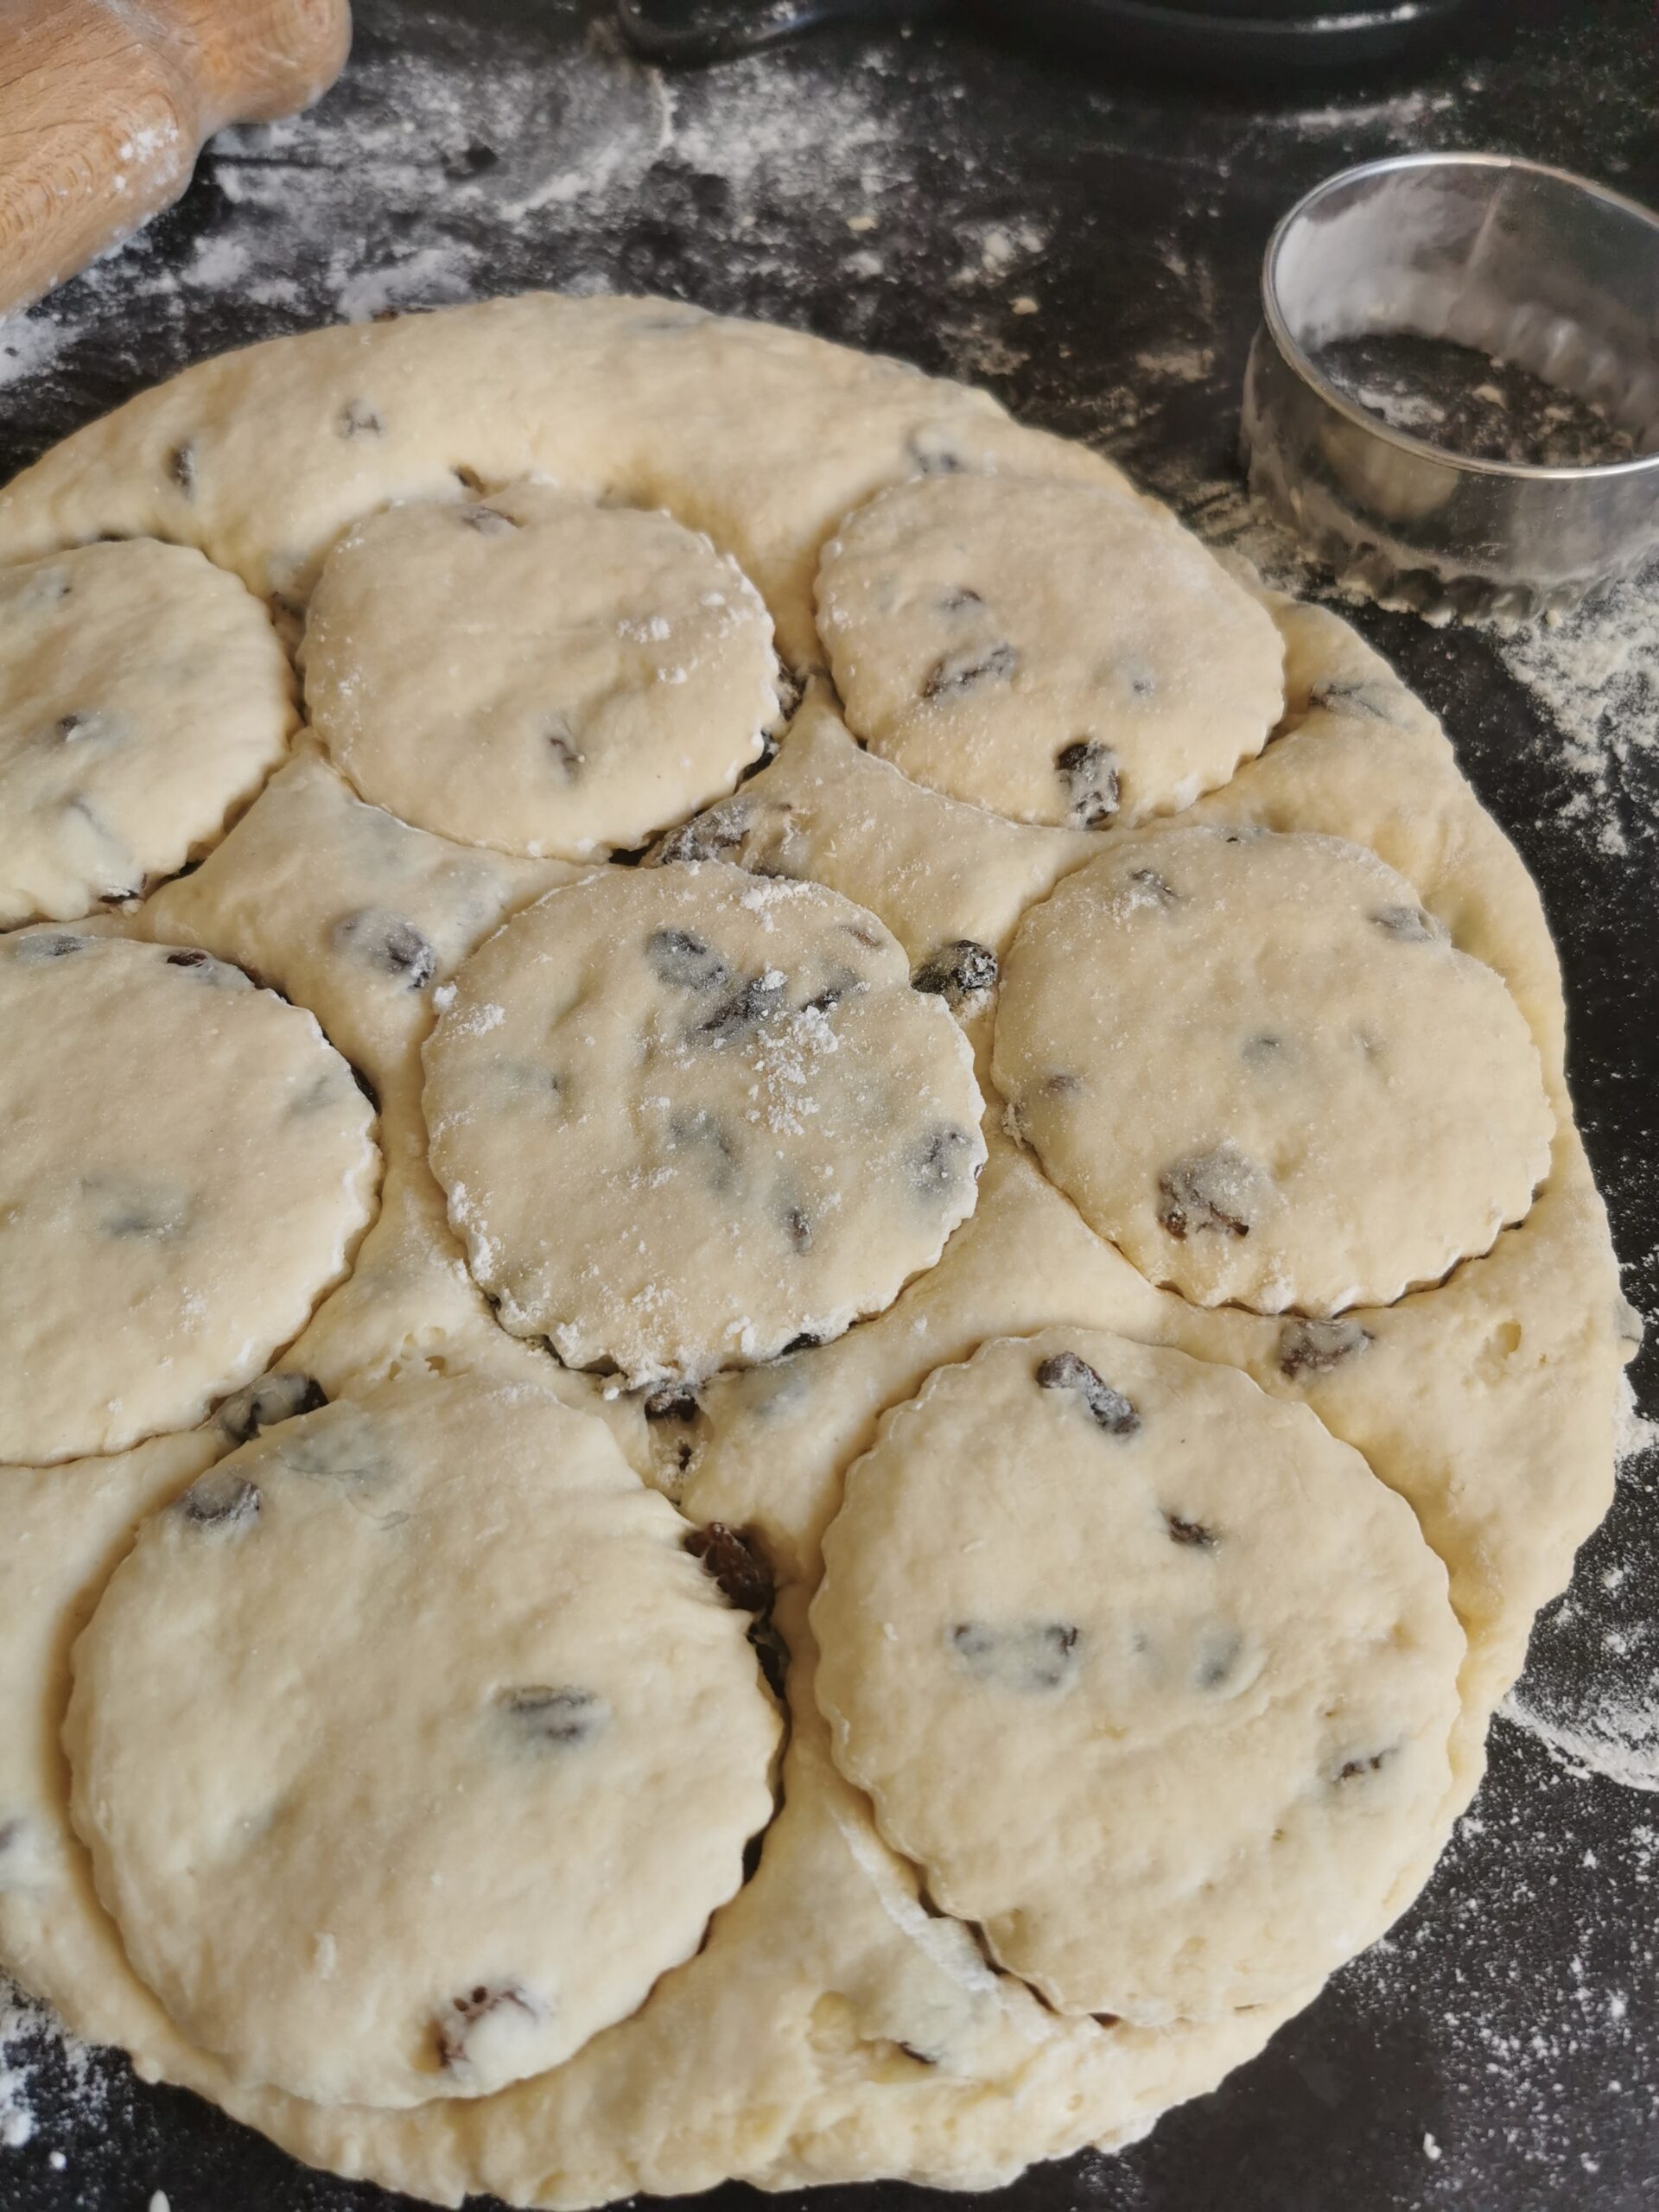
- Next roll the dough out. Sprinkle the work surface with a light covering of flour. Lightly roll the dough out using a rolling pin or your hands to a 1 inch round. Using a cutter (I use an 8cm cutter for large scones) dipped in flour, cut out rounds and place quite close together on the baking tray. Don’t twist the cutter when pressing down, it could make the scones uneven.
- Gently bring the remaining dough scraps together, but don't knead the dough. I just "push" the scraps of dough together with my hands. Cut out rounds until all the dough is used up. These scones will be slightly tougher than the first round, but will still taste good. If you have time, let the unbaked scones sit on the baking tray for 10-15 minutes.
- Brush the scones with egg wash if using, taking care not to let the egg run down the sides of the scones. Bake the scones for 12 minutes or until golden and risen. I always leave the scones on the baking tray and cover with a tea towel for about 10-15 minutes so they steam together (this will keep the scones nice and soft.)
Notes
If using self raising flour instead of plain, you will need to reduce the baking powder to 1 1/2 teaspoons.
Nutrition Information:
Yield:
10Serving Size:
1Amount Per Serving: Calories: 344Total Fat: 10gSaturated Fat: 6gTrans Fat: 0gUnsaturated Fat: 3gCholesterol: 75mgSodium: 411mgCarbohydrates: 56gFiber: 2gSugar: 19gProtein: 9g
Calories and Nutritional information are provided by a third party application and should be used as indicative figures only.
Surely you meant an 8 CM cutter. You wouldn’t get too many scones using an 8 inch cutter as the recipe states?
Oh my goodness, sorry! Yes it should be an 8cm cutter. I’ll amend that right away. Thanks for pointing that out 🙈
Is that 200ml or 250ml of milk?
Add 200ml initially and if the mixture seems a bit dry (it should be slightly sticky and moist but not too wet) add up to 50ml extra.
Thank you Nikki.
I think there might be a mistake in baking powder measurement. The recipe states 1 tsp and if using plain flour to reduce to 1 1/2. So I added 2 tsp as using plain flour.
my scones turned out lovely and light. Definately better than my old trusted recipe. Have saved to my favourites
thankyou!
Hi Judith, that’s great to hear, I’m so glad you like the scones! 🙂 If you use plain flour, it’s 1 tablespoon of baking powder. If using self raising, use 1 1/2 teaspoons. Thank you for your feedback! 🙂
Just followed this recipe, but added my own little touch of 2 x teaspoons of Birds custard powder to the mix. The scones were light as a feather, and rose up to 3 x their pre-bake height! Really pleased that my little addition paid off – feel free to add comments on your own little tweaks 😊
Hi Lois, this sounds amazing! I’ll need to give it a try 🙂