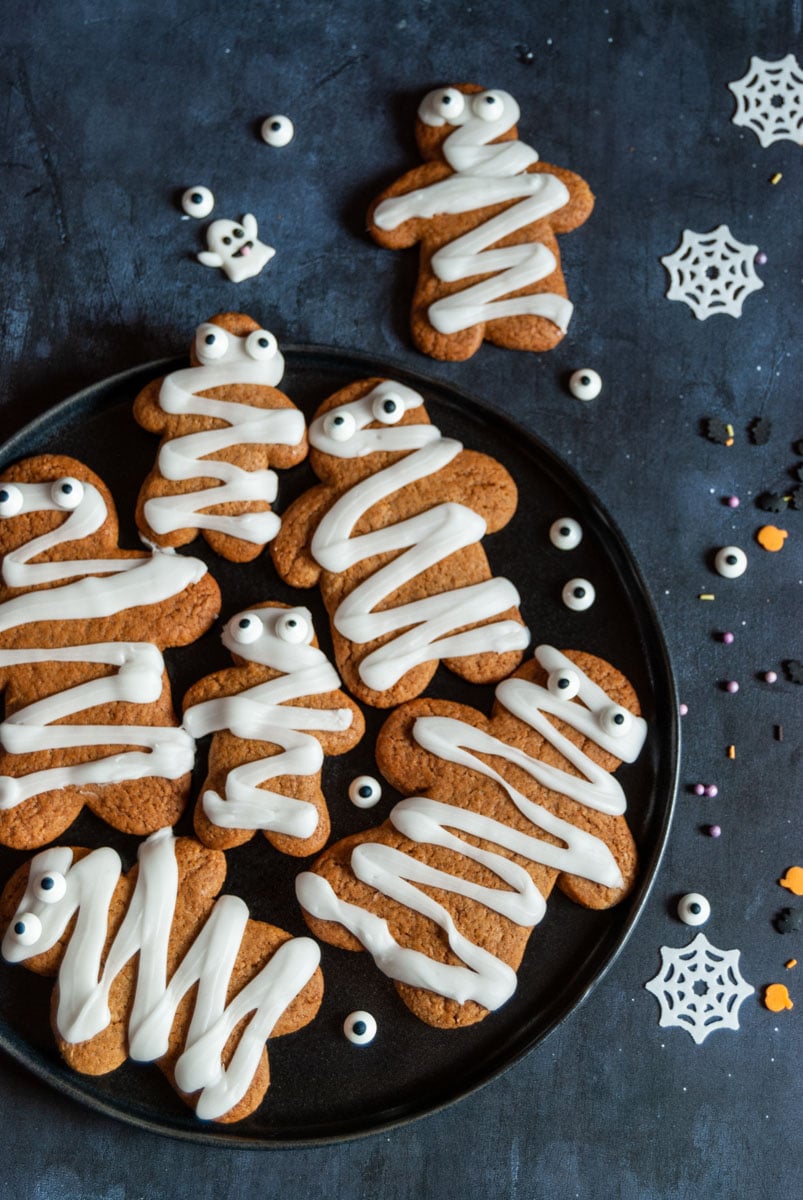
It’s so easy to make these cute little gingerbread mummies! They not only look cute, but taste amazing too! They are sure to be a big hit at a Halloween party.
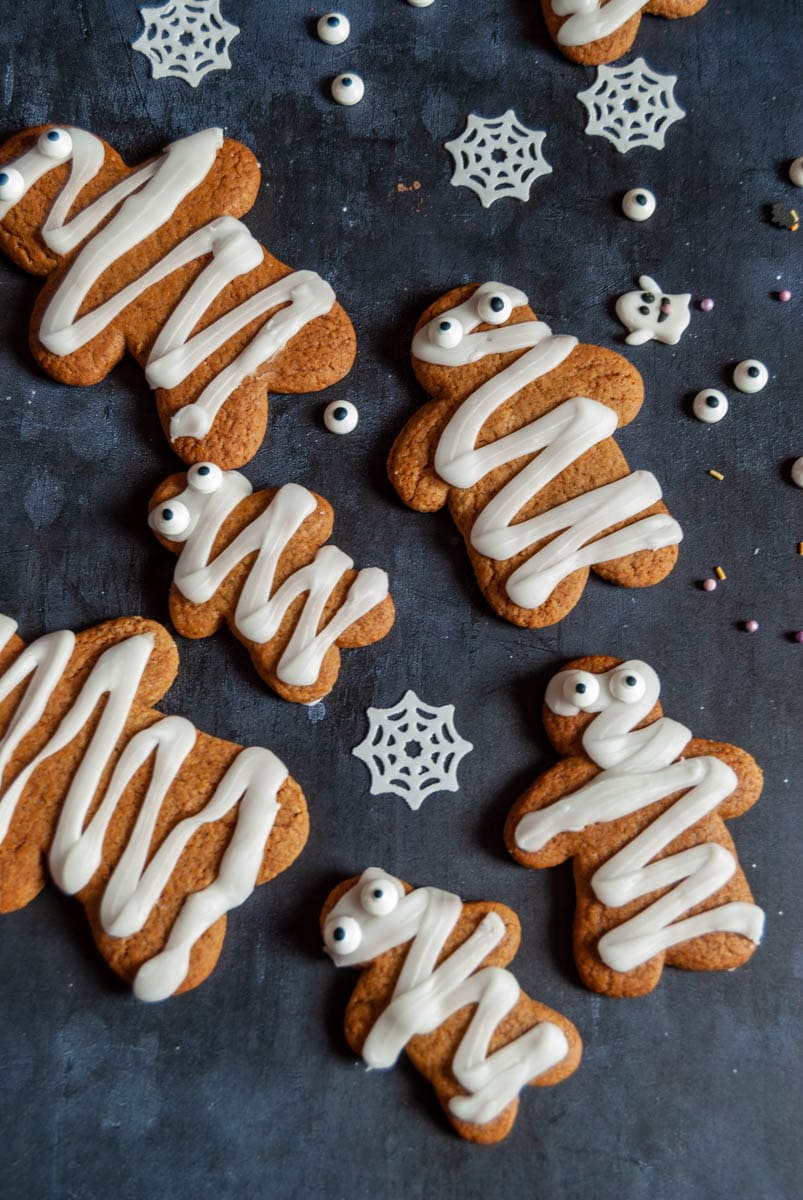
Here’s a quick Halloween post that’s very easy to make and lots of fun – gingerbread mummies!
I absolutely love Halloween and everything about it. When my boys were little, I used to get so excited dressing them up in their costumes and taking them around the neighbourhood “guising” – or you might call it trick or treating.
They are now far too grown up for such things. My youngest son is not a fan of masks and costumes at all and I genuinely think he would be terrified if I even attempted to take him out.
Those days might be over, but I still jump at the chance of whipping up a few Halloween treats like my spooky sausage mummies, spooky spider cookies, meringue ghosts, Halloween chocolate drip cake, Halloween rocky road and these gingerbread mummies. Even the grown up lads aren’t too grown up for them 😉
no chill gingerbread dough
One of the advantages of this recipe is you don’t have to chill the dough. Yes, I’ve found a gingerbread recipe that you can make and bake straight away. Many gingerbread recipes, like my Christmas gingerbread cookies, require you to chill the dough before you bake it.
how to make gingerbread mummies
scroll to the bottom of the post to find printable recipe card with ingredient list and detailed instructions
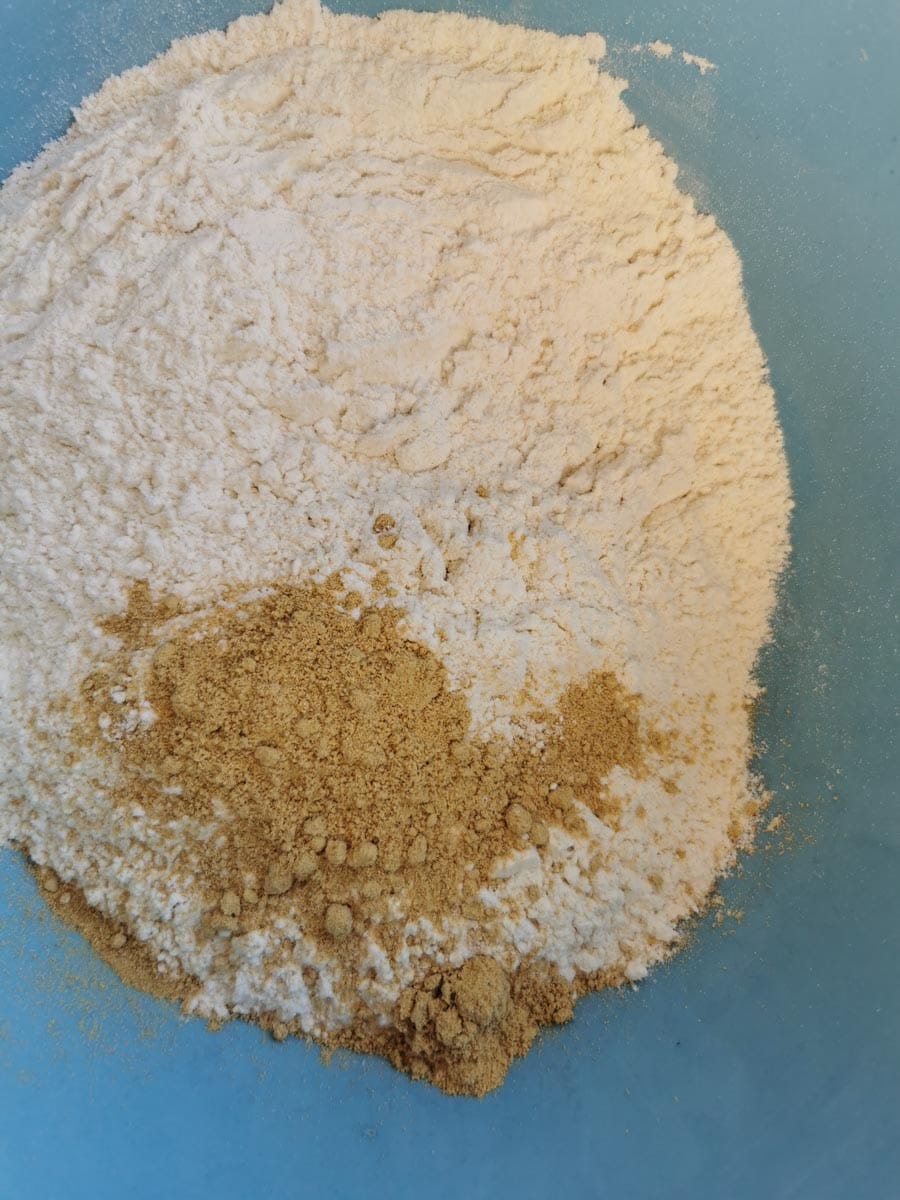
- Sieve together plain flour, salt, bicarbonate of soda and ground ginger in a large mixing bowl.
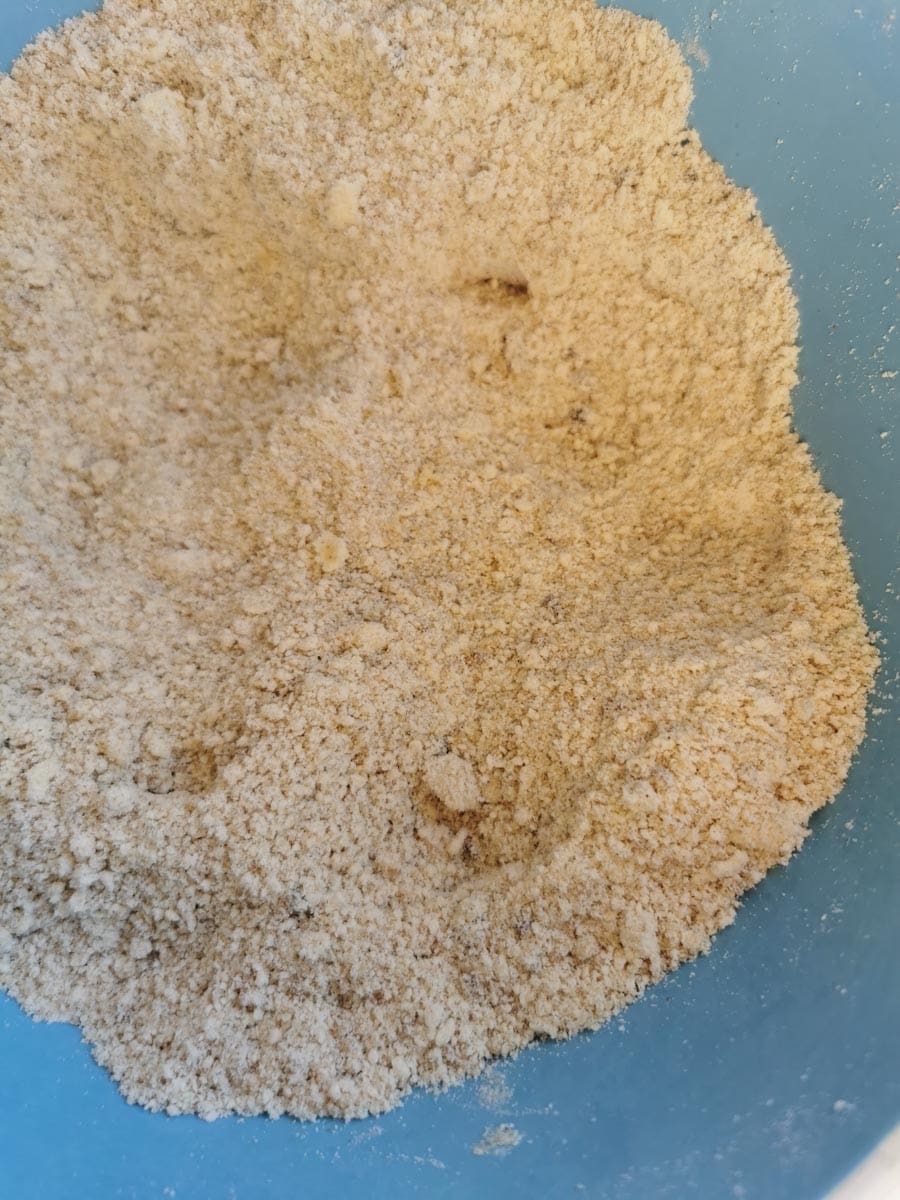
- Using your fingers, rub in cold butter until the mixture looks like breadcrumbs. Stir in soft light brown sugar.
- Add golden syrup and a beaten egg to the bowl. Mix with a wooden spoon until you have a soft dough. You could make the dough in a food processor if you like.
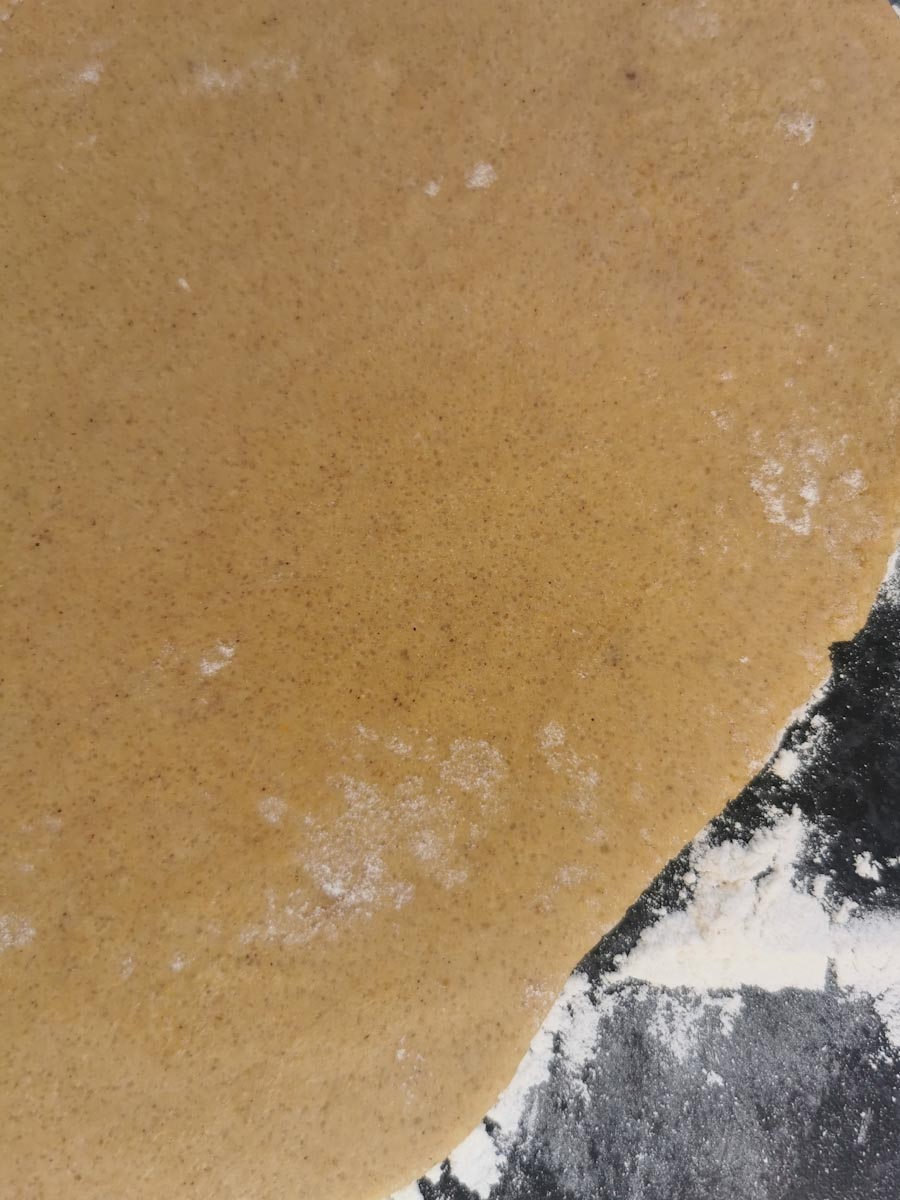
- Cut the dough in half and roll one half out on a lightly floured work surface.
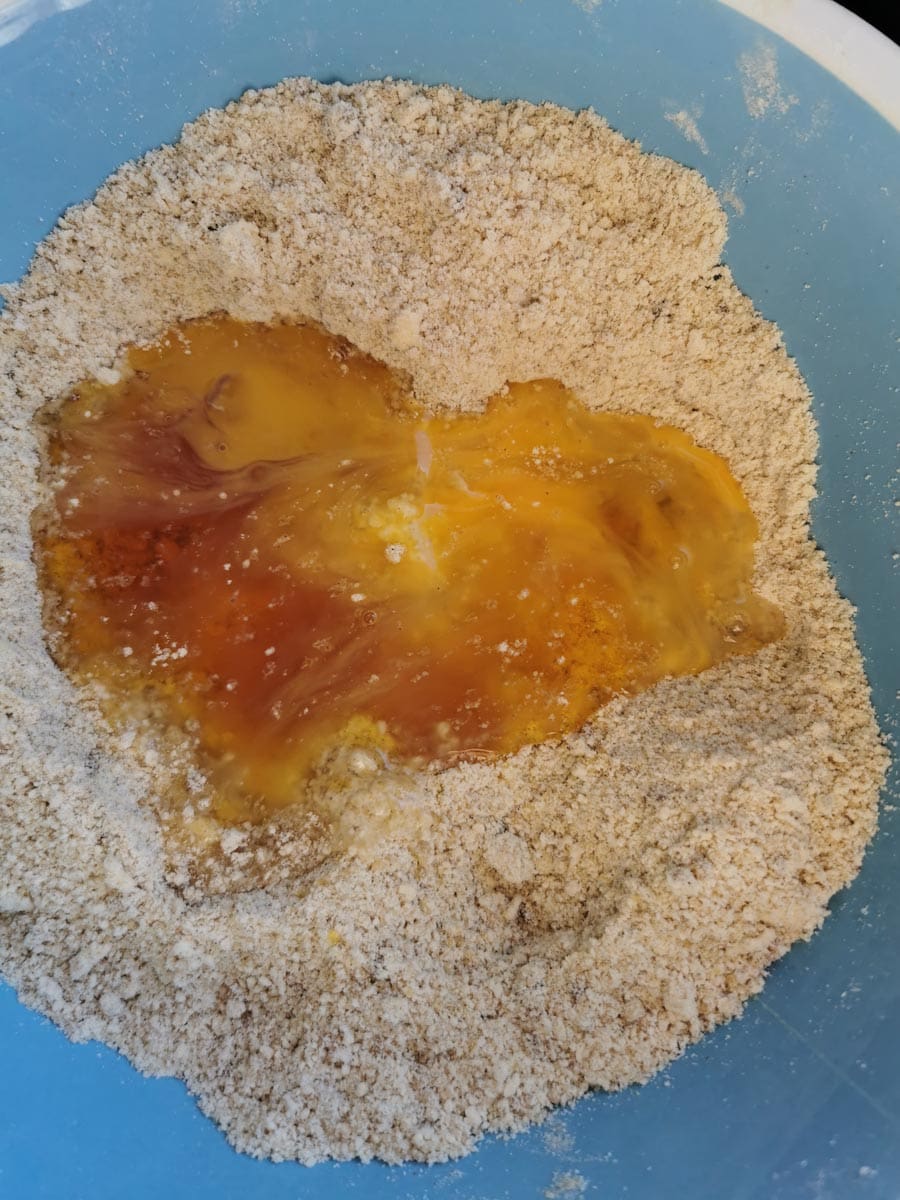
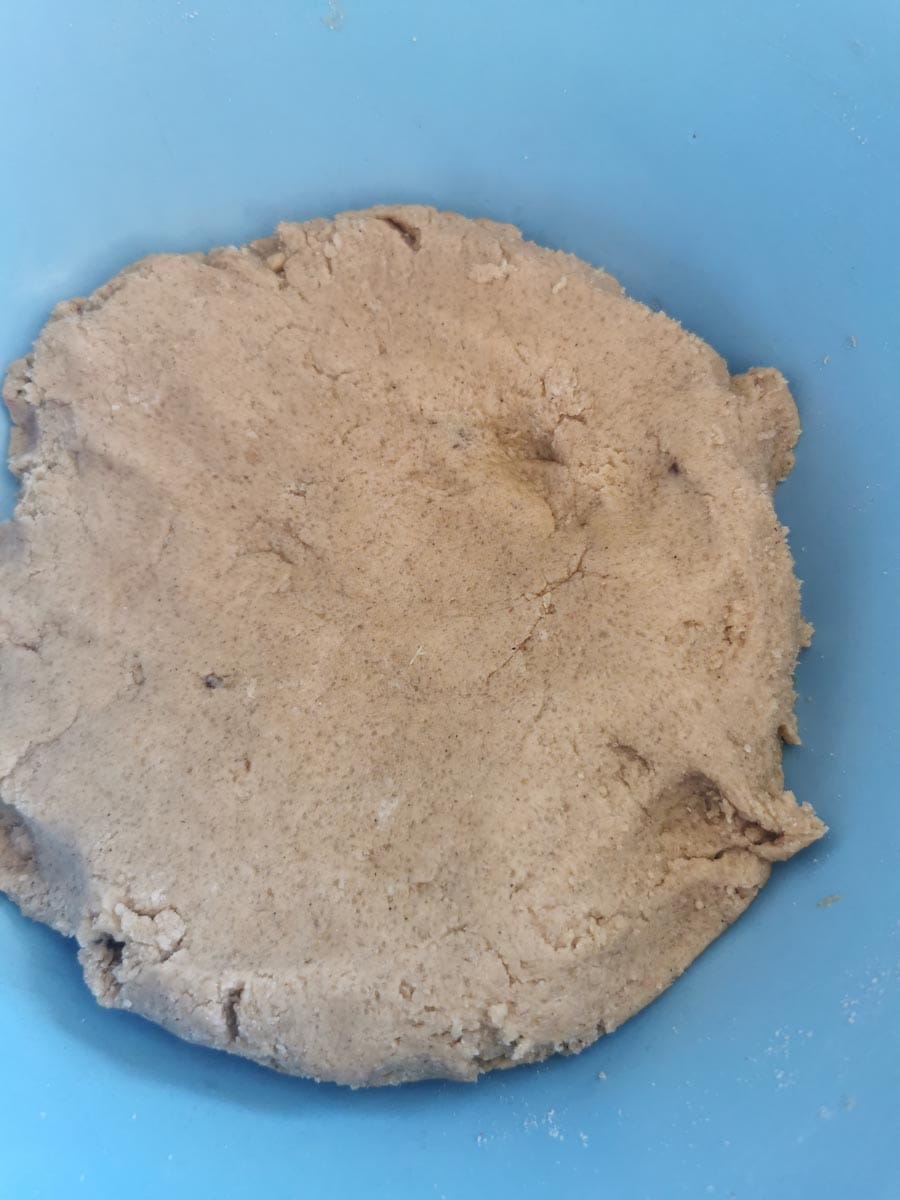
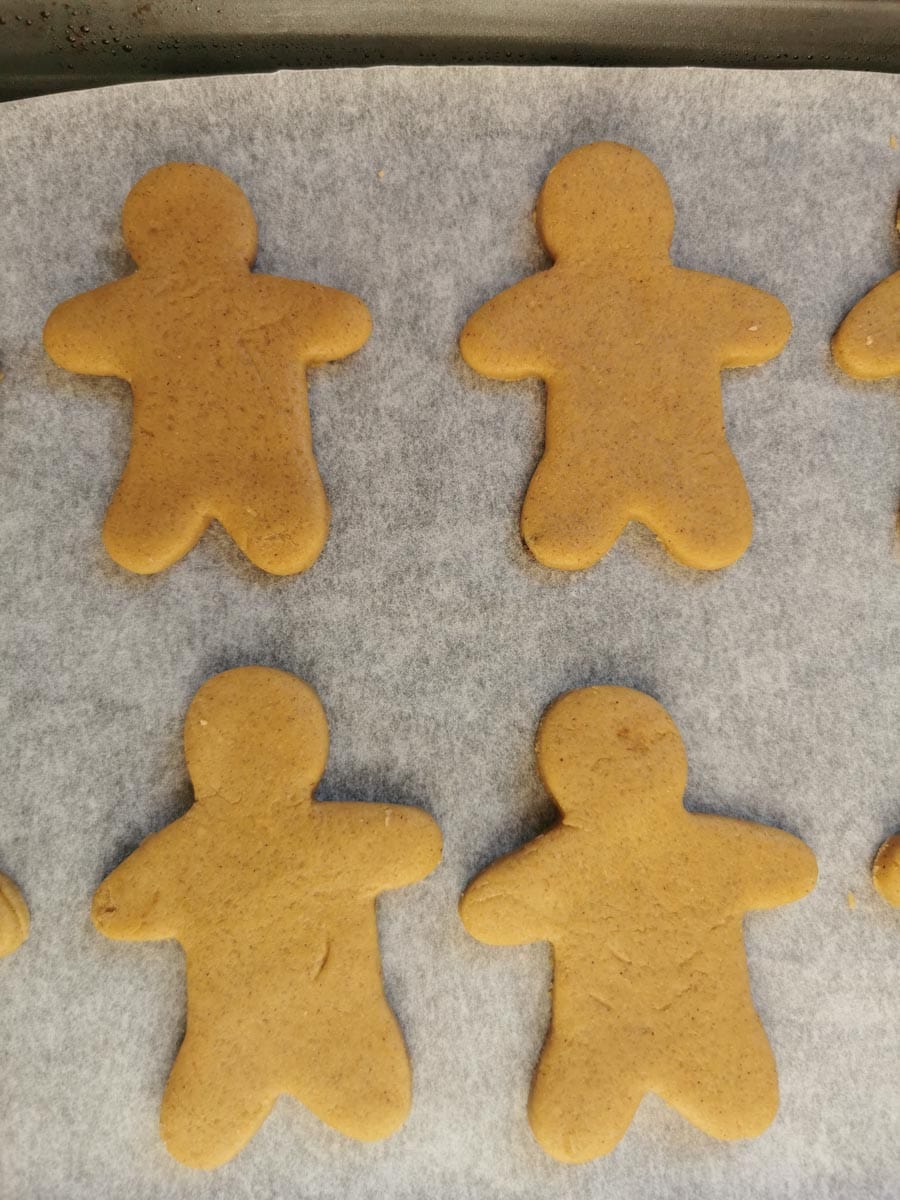
- Using gingerbread cutters, cut out shapes and place on a couple of lined baking trays.
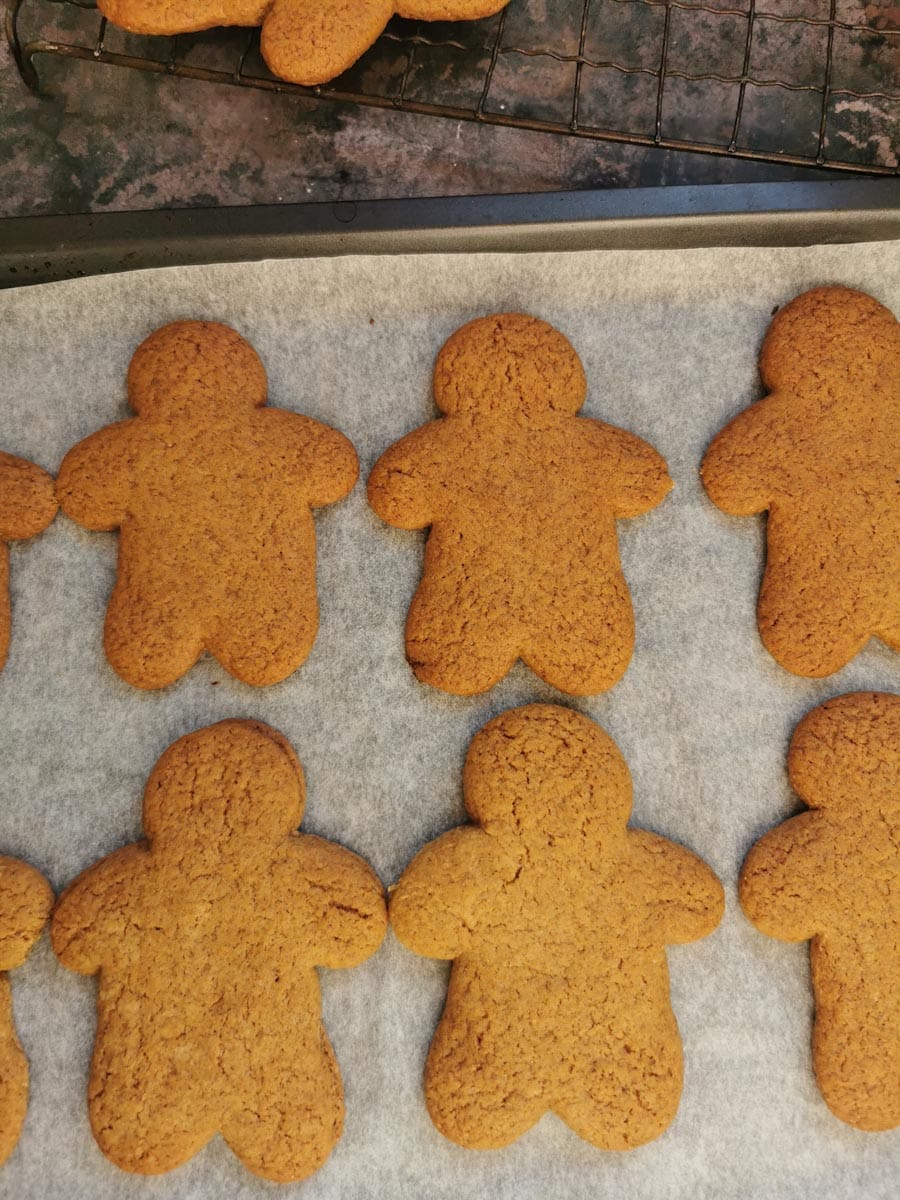
- Bake for about 10-12 minutes, or until the biscuits are just starting to firm around the edges and smell delicious. Leave the biscuits to firm up on the tray for 5 minutes before transferring to a wire cooling rack to cool completely.
how to decorate gingerbread mummies
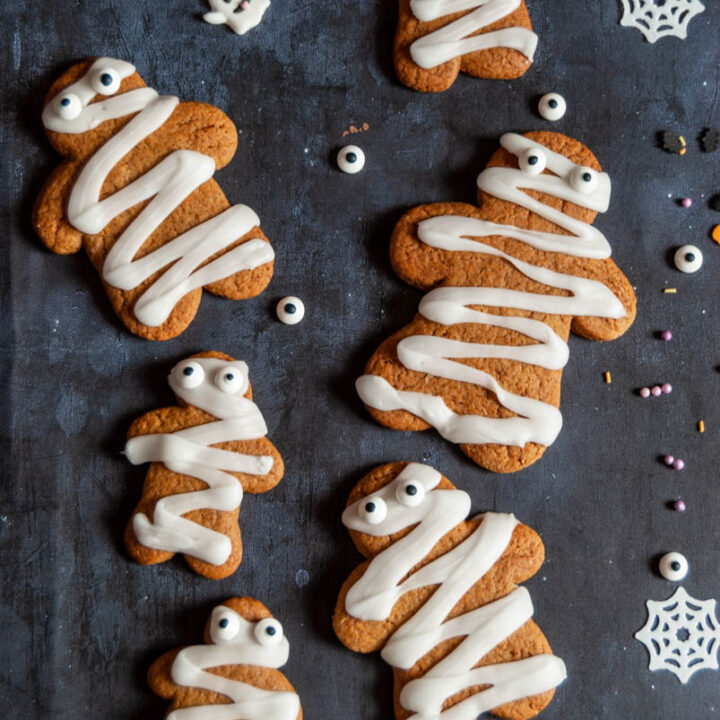
- To decorate the gingerbread, I used a piping bag fitted with a petal piping tip and a tub of ready to use royal icing. The petal style piping tip is perfect for giving that mummified “bandage” effect.
- For the eyes, I used these edible candy eyes that you can now find in many large supermarkets.
more halloween bakes to try
did you make this reciPe?
I hope you enjoyed it! Let me know what you thought of it by leaving a comment below and rate the recipe by clicking on the stars in the recipe card.
Gingerbread Mummies
These gingerbread mummies are a fun Halloween bake that look cute and taste delicious!
Ingredients
- 350g plain (all purpose) flour
- 1 level teaspoon bicarbonate of soda
- 1/4 teaspoon fine salt
- 1 tablespoon ground ginger (or less if you want it a little less spicy - see notes)
- 100g cold diced butter
- 175g soft light muscavado sugar
- 4 tablespoons golden syrup
- 1 large egg, beaten
- FOR THE DECORATION
- ready to use tub of ready made royal piping icing (or you could use writing icing that comes with a set of nozzles - you'll need the "petal"/flat style nozzle to make the bandage effect)
- edible candy eyes
Instructions
- Preheat the oven to 180C/160Fan/350F/gas mark 4. Grease and line two large baking trays.
- Sieve the flour, bicarbonate of soda, salt and ground ginger together in a large bowl. Add the cold butter and using your fingertips, rub it in until the mixture resembles breadcrumbs.
- Stir in the brown sugar, then add the golden syrup and beaten egg. Mix to form a soft dough (no need to chill.)
- Cut the dough in half and roll out one half on a lightly floured work surface. Roll out to roughly 1/4 inch thickness. This dough is very forgiving to work with, so you shouldn't have any problem with it sticking. I always give the dough a little turn when rolling it out to prevent this. Re-roll the icing until all the dough has been used up (or you could freeze some if you don't need lots of biscuits.)
- Using gingerbread cutters, cut out shapes and place them on the lined baking trays, making sure you leave a little space (about 1 inch) between them to prevent them from spreading and sticking together.
- Bake for 10-12 minutes (see recipe notes), then remove from the oven. Leave the biscuits on the trays for five minutes before transferring to a wire rack to cool completely.
- To decorate the gingerbread, spoon the royal icing into a piping bag fitted with a petal (flat) piping tip. Starting from the top, pipe zig zig style lines across the biscuits to make "bandages." Press on the edible eyes. Leave the icing to set before eating!
Notes
It can be quite difficult to tell when gingerbread is fully baked - once you start to smell it, it's usually not far off from being ready! The biscuits will darken very slightly and look slightly puffed up.
They will still be quite soft in the middle - but that's fine. They will crisp up on cooling. If you over bake the gingerbread, they will become very hard and chewy.
Nutrition Information:
Yield: 18 Serving Size: 1Amount Per Serving: Calories: 94Total Fat: 5gSaturated Fat: 3gTrans Fat: 0gUnsaturated Fat: 2gCholesterol: 22mgSodium: 72mgCarbohydrates: 13gFiber: 0gSugar: 12gProtein: 0g
Calories and nutritional information are provided by a third party application and should be viewed as indicative figures only.
What a cute and festive treat. Children would have so much fun decorating these.
Aw, I’m in love with your gingerbread mummies. They’re so cute. Just love those googley eyes. Love gingerbread too – goes without saying really.
Thank you! 🙂
Thanks Cat, they are a perfect bake for little ones!
Aww they’re super cute! Although I fear that cute isn’t quite the aim!!!!
(mind you, looking at the other comments, I’m not the only one!)
haha, yep they are definitely more cute than scary! I guess they’re perfect for people who don’t do the gory side of Halloween 😀