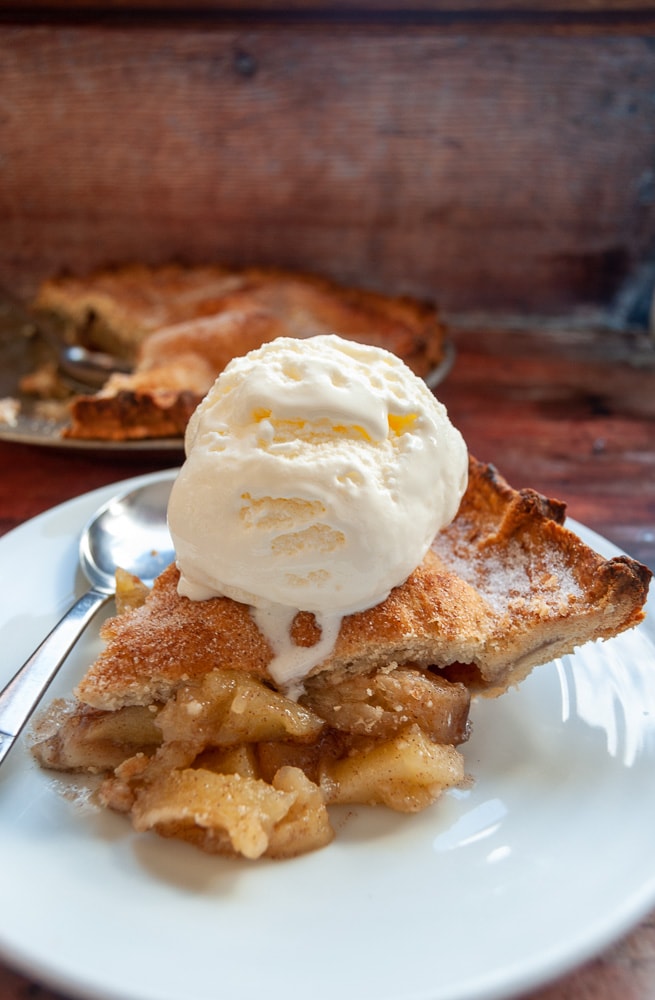
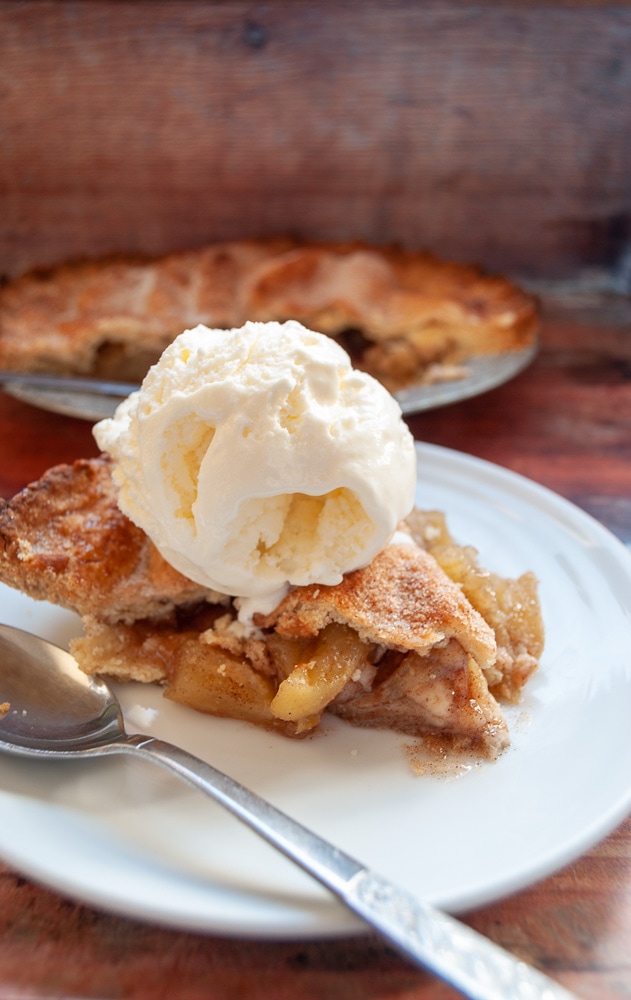
This easy apple pie recipe is a classic dessert that’s universally adored! Tender chunks of sweet juicy apples enclosed in buttery, crisp pastry. Serve with custard, ice cream or pouring cream for a simply heavenly dessert. Let me show you step-by-step how to make a homemade apple pie, just like Granny used to make.
I do love an old-fashioned pie recipe. Pecan Pie, pumpkin pie and lemon meringue pie are among my favourites, but a classic apple pie is pretty hard to beat.
A lovingly made apple pie is one of the all-time classic desserts. It’s homely, comforting and delicious. The food equivalent of a great big cinnamon-scented cuddle.
If you think making an apple pie from scratch is too difficult and fiddly, I urge you to think again. All you need is a few simple, basic ingredients and if you take your time and follow my tips, you won’t go wrong.
Do you like caramel apples? Try this gorgeous caramel apple pie recipe!
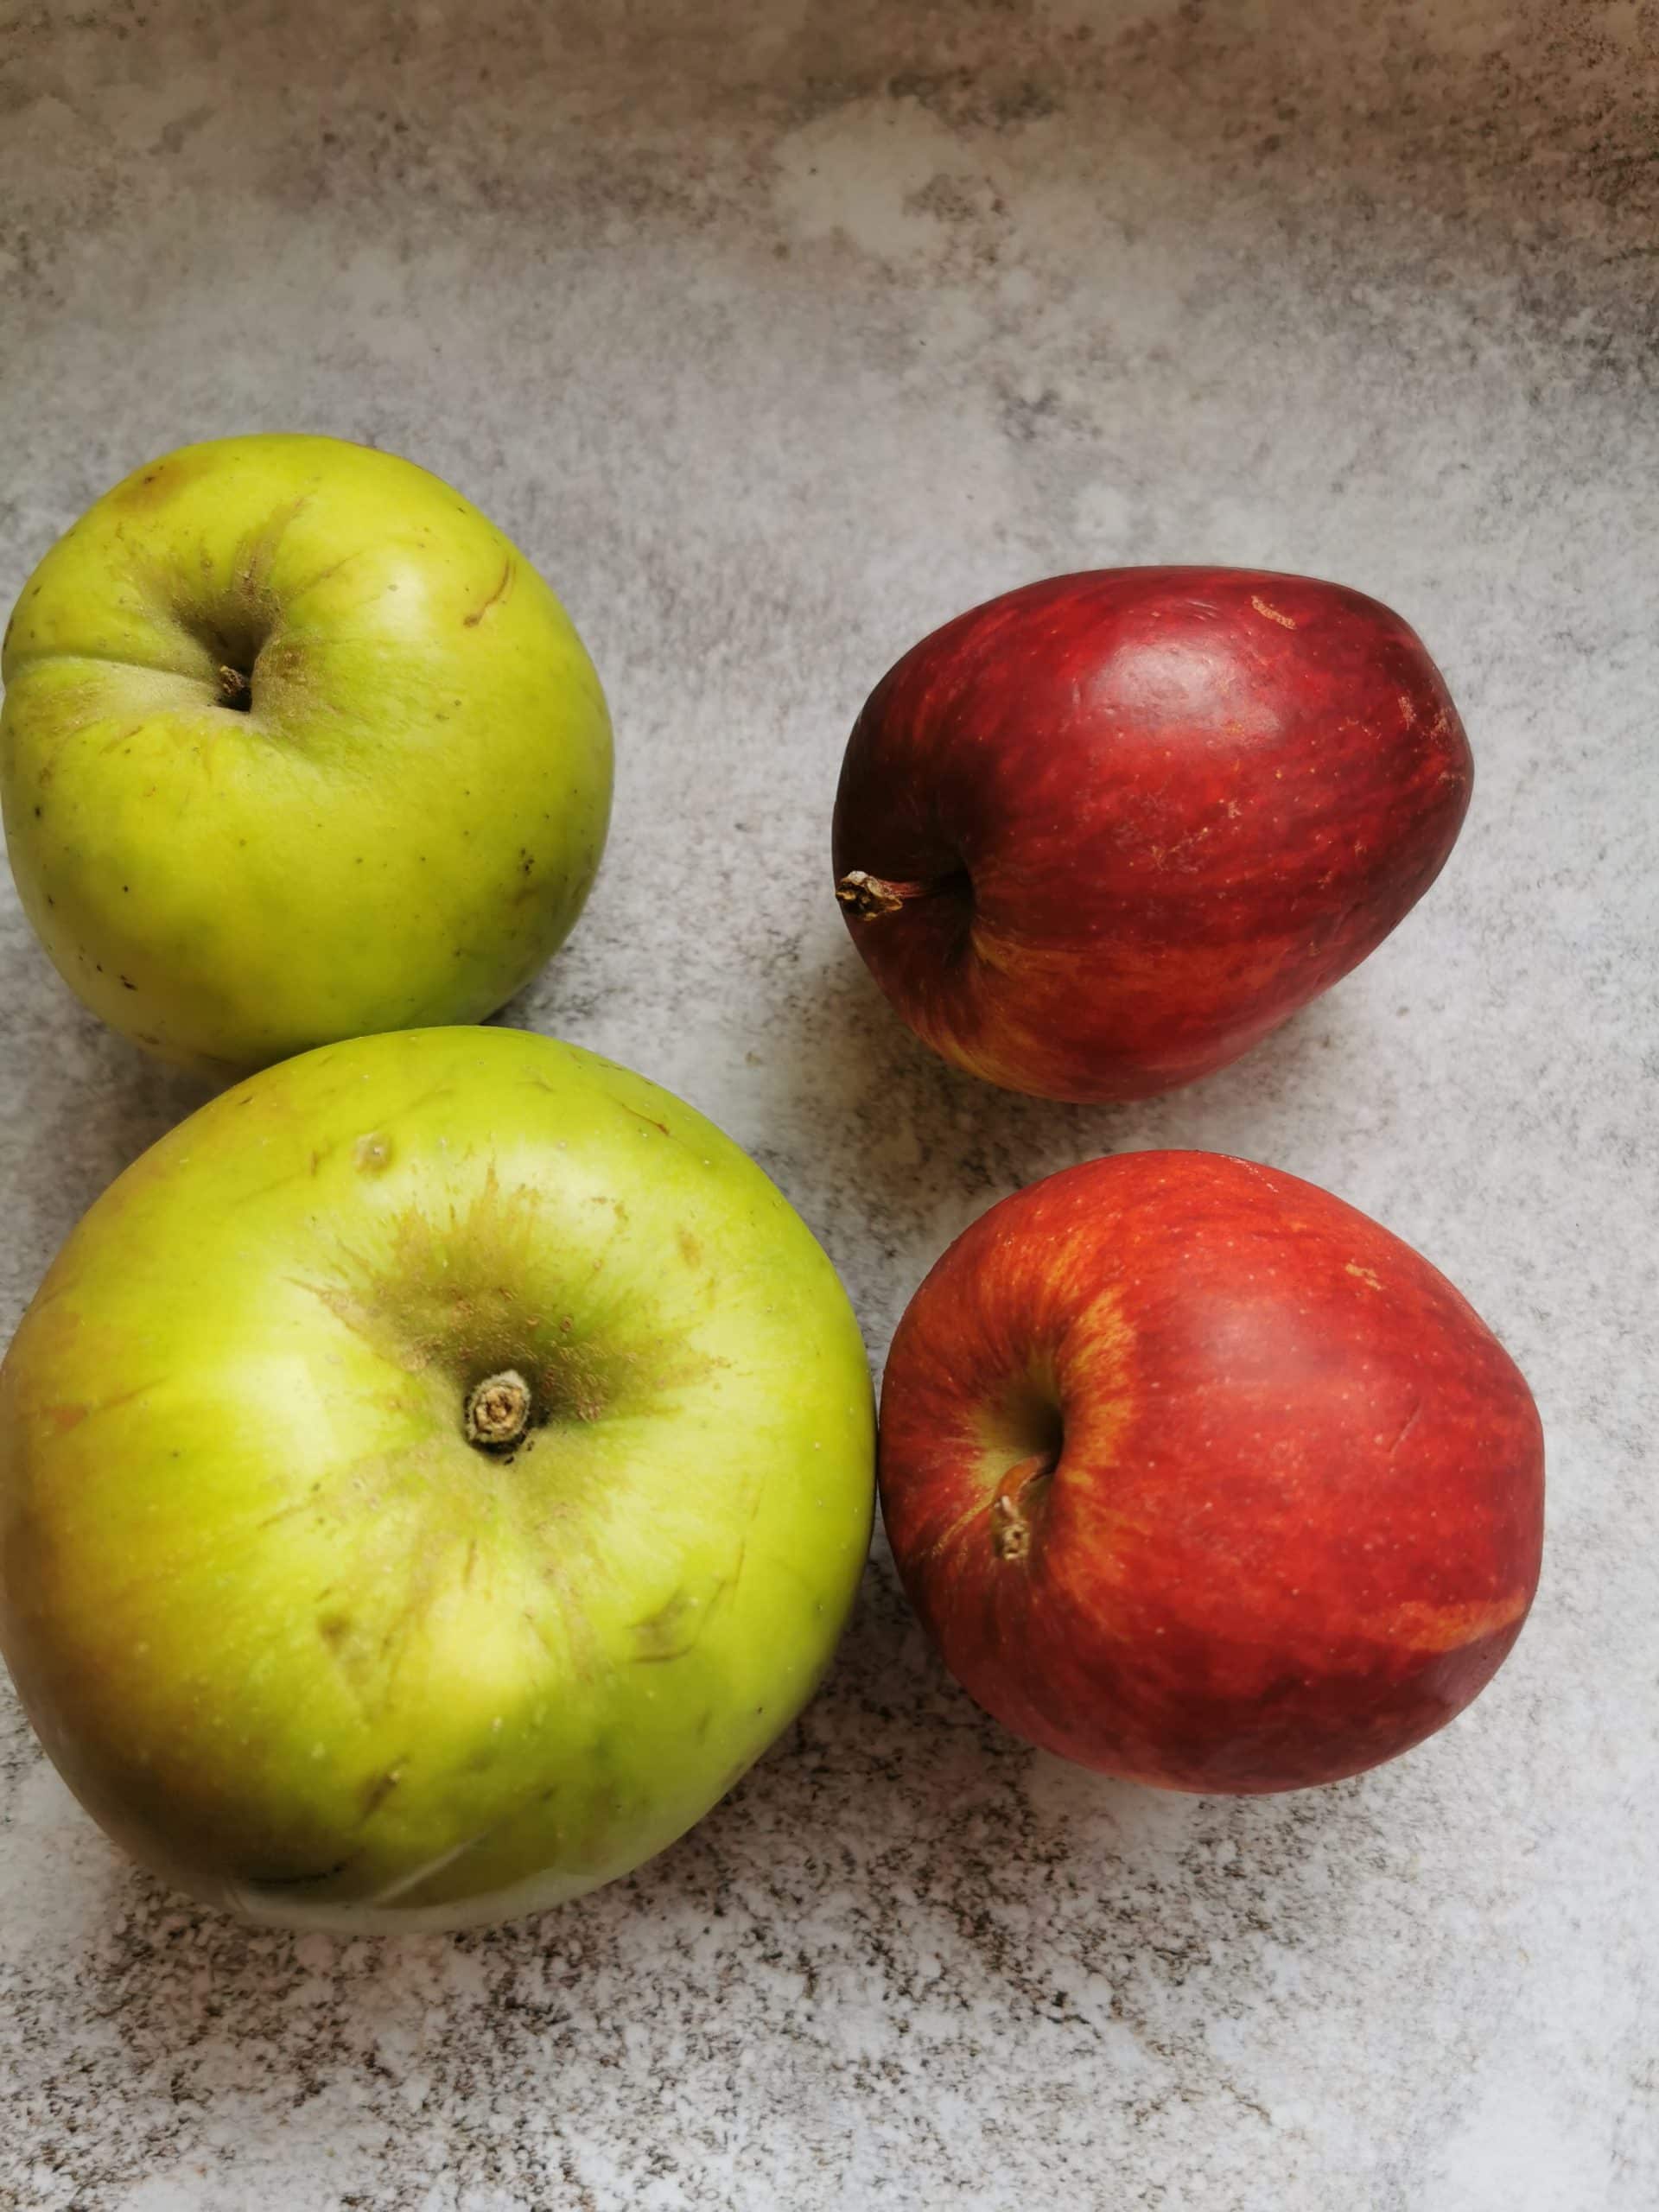
what are the best apples to use in an apple pie?
I like to use a mixture of Bramley (cooking) apples and eating apples. You can use just cooking apples if you like, but if you do you will need to add a little extra sugar.
:The best eating apples to use are:
- pink lady – the perfect balance of sweet and tart
- Royal Gala – mildly sweet, perfect for pairing with cooking apples
- Braeburn – crisp and sweet
- Golden Delicious – good all rounder
- Cox’s
- Mcintosh
I find a 50/50 ratio of cooking apples (Bramleys) and eating apples is perfect.
the pastry
The pastry is just as important as the apples! A slightly sweet shortcrust pastry is best. I use this foolproof pie dough recipe. You don’t need to pre-bake the pastry (blind bake) for a fruit pie. However, you will need to rest the pastry before rolling it out and I also prefer to chill the pie before baking, so you’ll need to factor in this extra time.
Making apple pie isn’t quick, but it’s worth the effort, I promise.
how to make this easy apple pie
Please scroll to the end of the post to find a printable recipe card with ingredient amounts and detailed instructions on how to make this recipe.
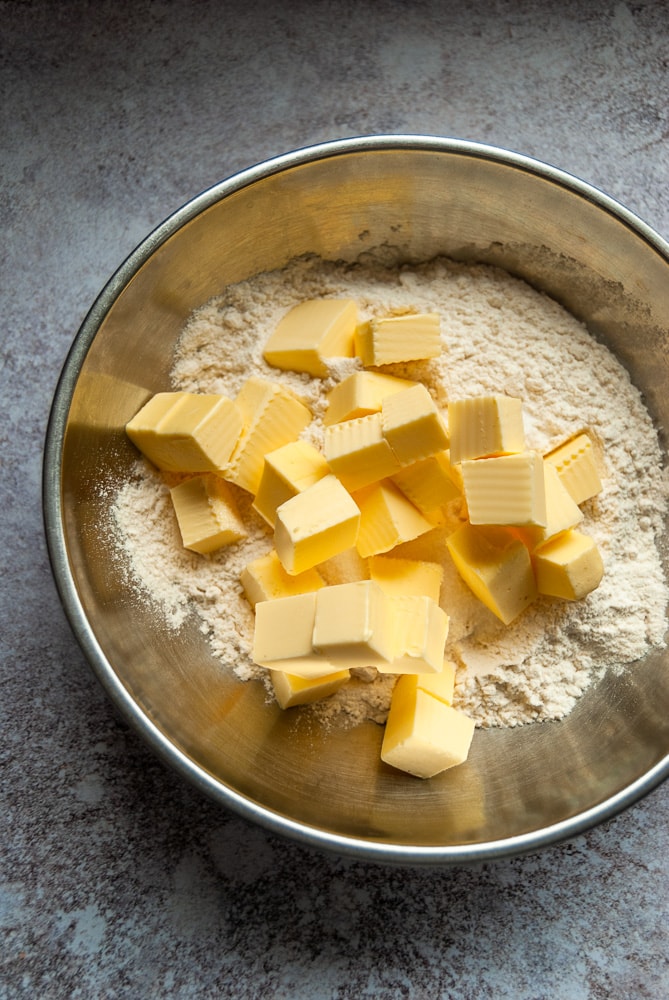
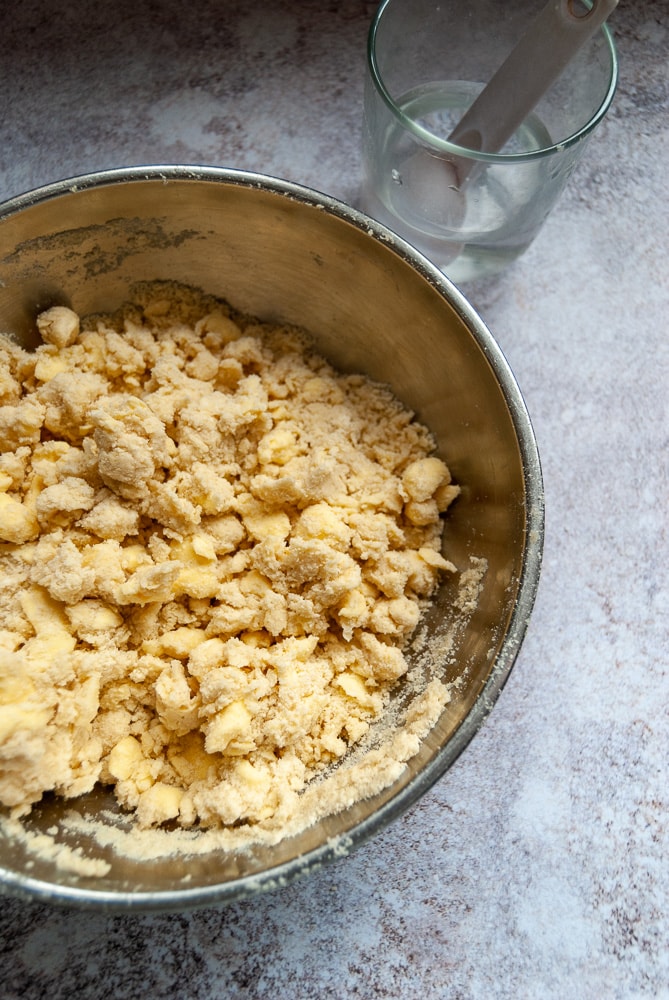
Step 1 – First of all you need to make the pastry by combining plain flour, salt and sugar in a large bowl. Rub in very cold (the colder the better) cubed butter until the mixture resembles breadcrumbs of varying sizes. If possible, place the bowl in the freezer for 10 minutes to ensure everything is ice cold. This will make a huge difference to the pastry.
Step 2 – Remove the bowl from the freezer and add iced water – about 3-4 tablespoons. Using a table knife, mix everything until it starts to hold together. If there are lots of dry bits at the bottom of the bowl, add a few more drops of water until you have a rough dough that sticks together easily.

Step 3 – Turn this messy dough out onto a lightly floured work surface. Bring everything together with your hands. Try to work the dough as little as possible. You might still see little butter chunks, but this is ok. That’s what will make the pastry tender and flaky.
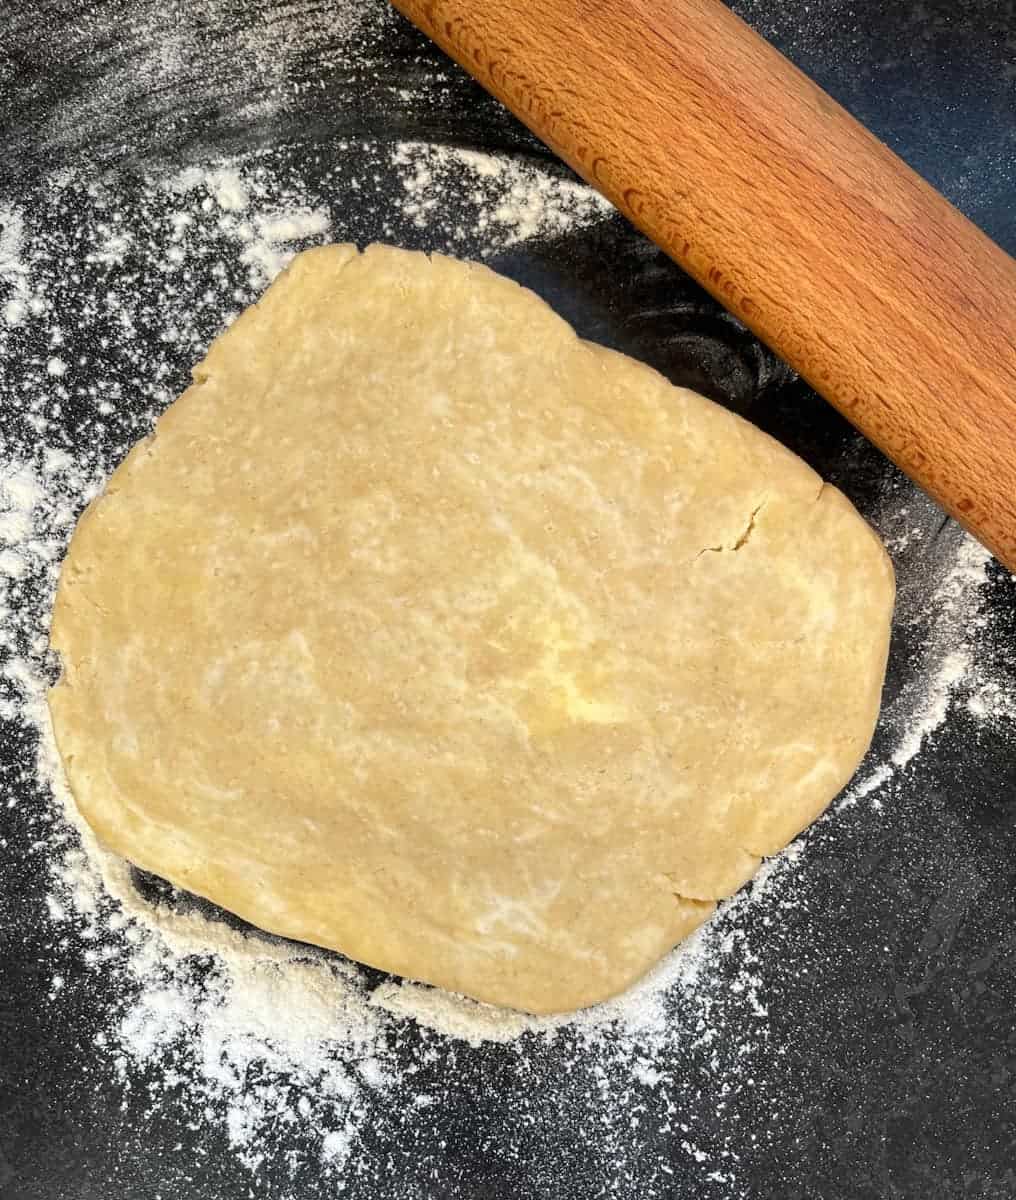
The dough should be soft, slightly moist but not too sticky to handle. Cut the dough into two equal pieces, wrap it in cling film (plastic wrap) and rest in the fridge for a minimum of 30 minutes.

Step 4 – Remove the chilled dough from the fridge and let it sit out for about 15-20 minutes. This will make it a little bit easier to roll out.
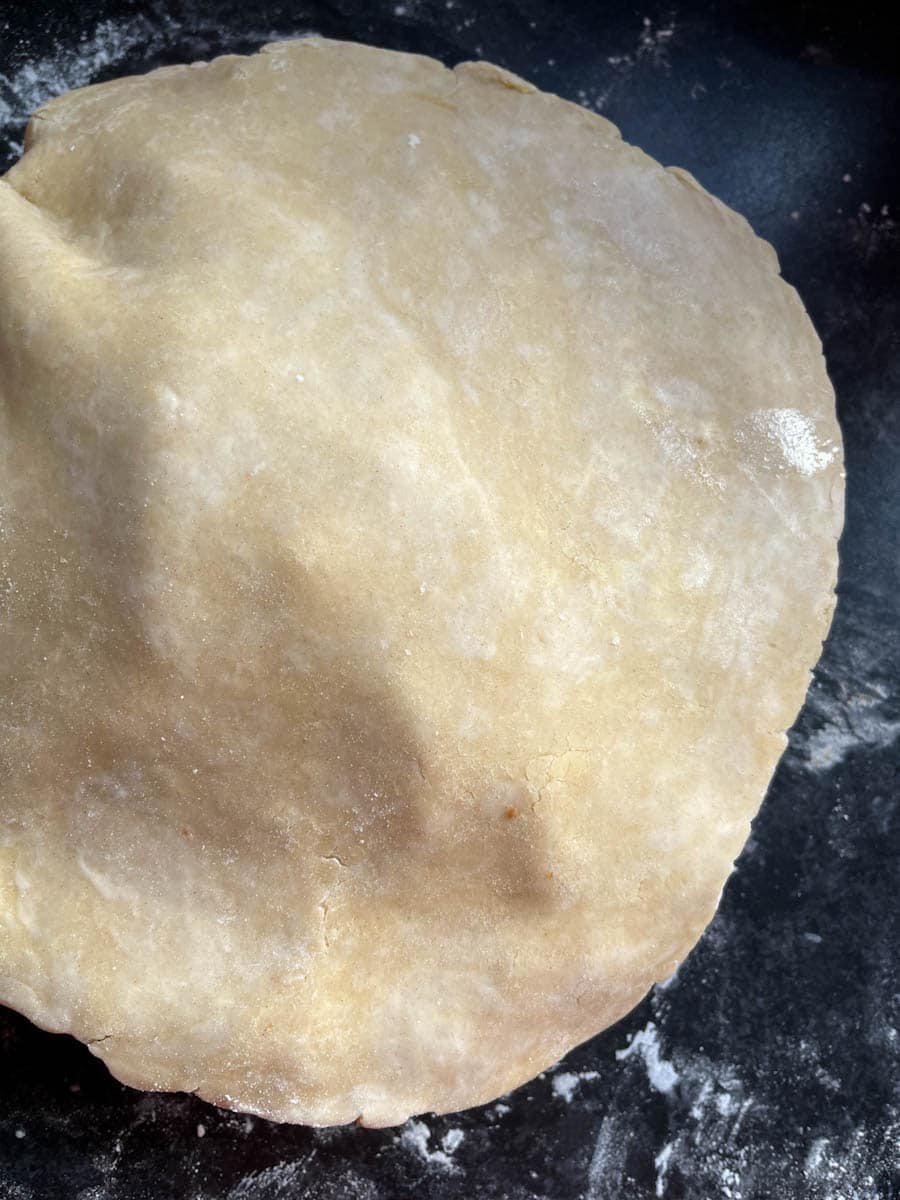
Step 5 – Roll out one half of the dough on a lightly floured work surface a little bit larger than your pie plate. Using your rolling pin, lift the dough onto the pie plate. Place the lined pie plate back in the fridge while you peel, core and slice the apples.
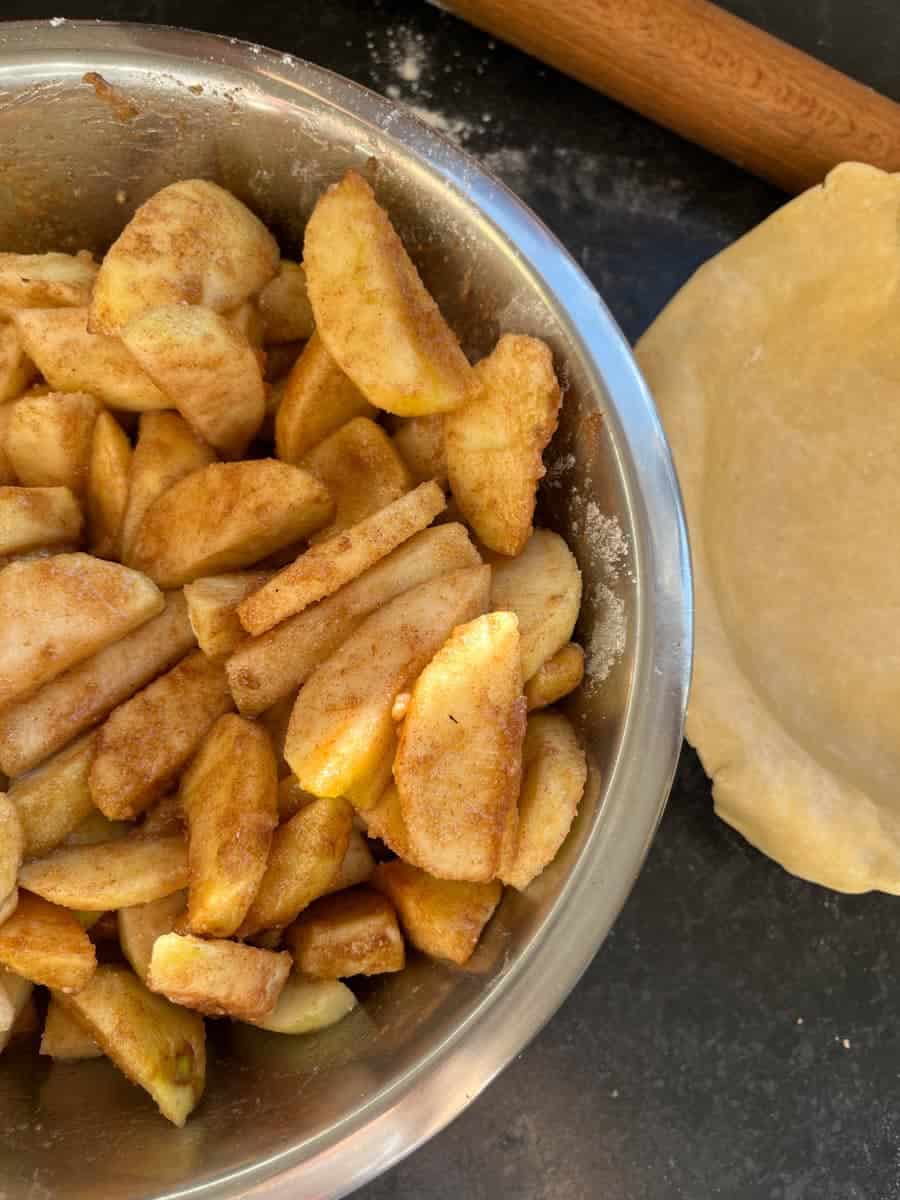
Step 6 – place the sliced apples in a large bowl and coat them in a mixture of sugar, ground cinnamon and a little ground mixed spice or ground cinnamon, if you like. The aroma of the spices while the pie is baking is heavenly!
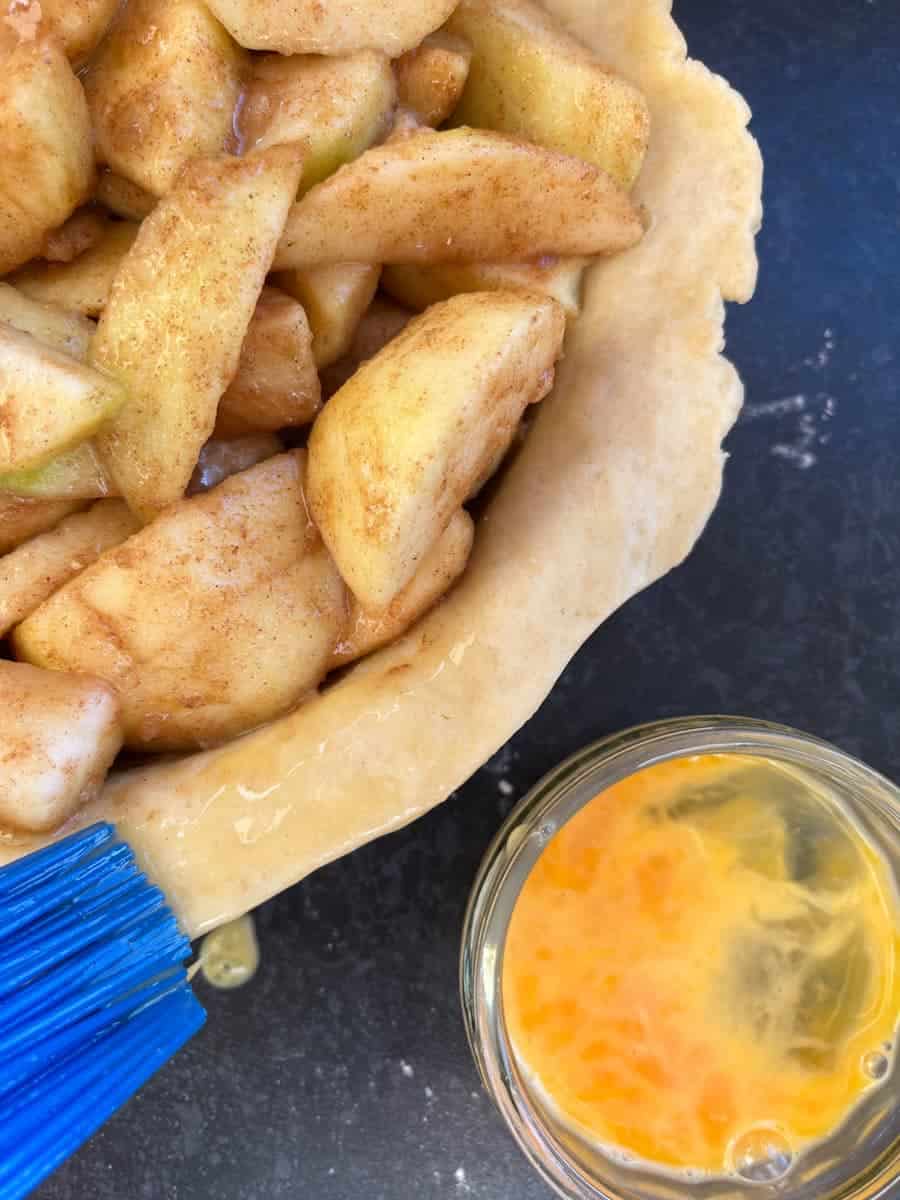
Step 7 – Remove the pie plate from the fridge. Place the apples inside the plate, pressing them down as you go to prevent gaps in the filling. You might think you have too many apples, but they will shrink slightly in the oven, so don’t worry.
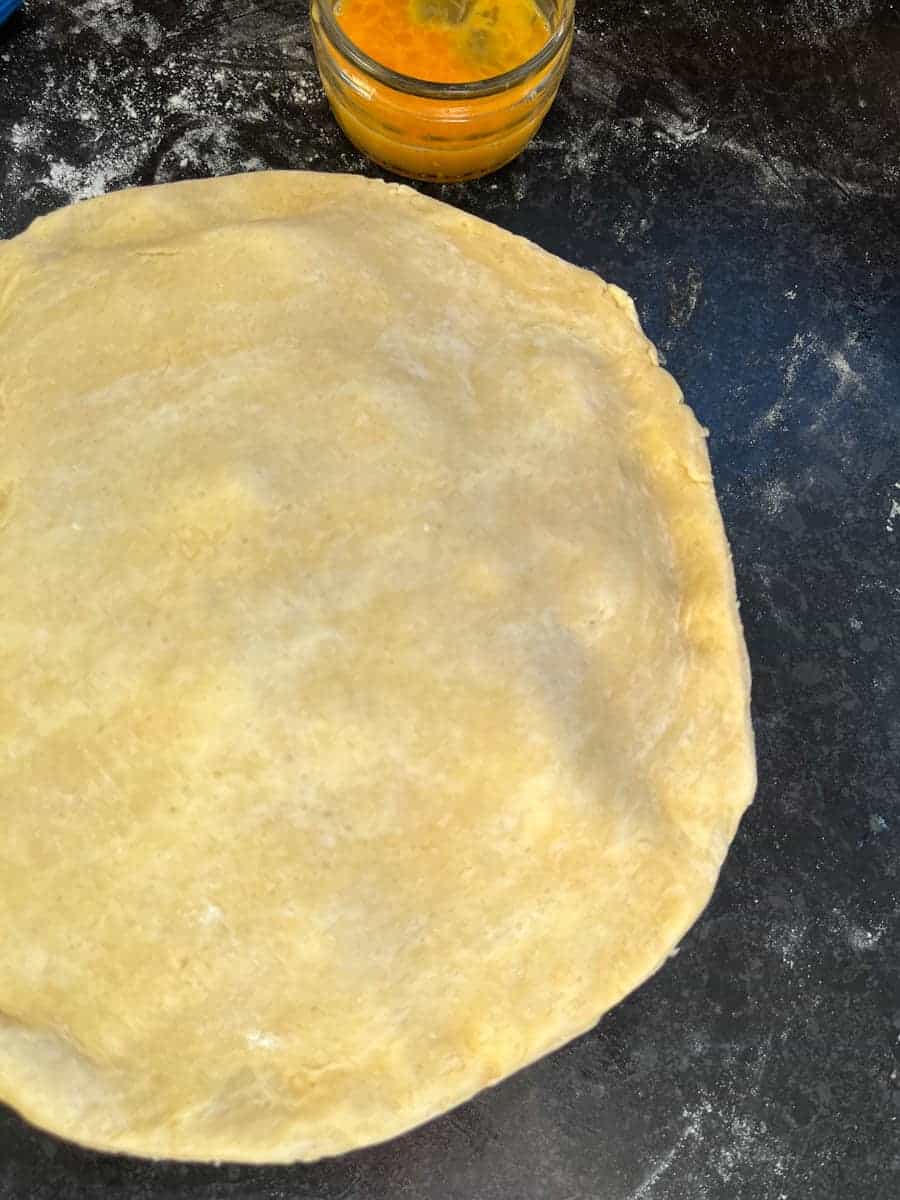
Step 8 – Roll out the second piece of dough. Carefully lift up the dough (use your rolling pin) and place on top of the apples. Firmly press all around the edge of the pie plate to seal, then trim excess dough with a sharp knife.
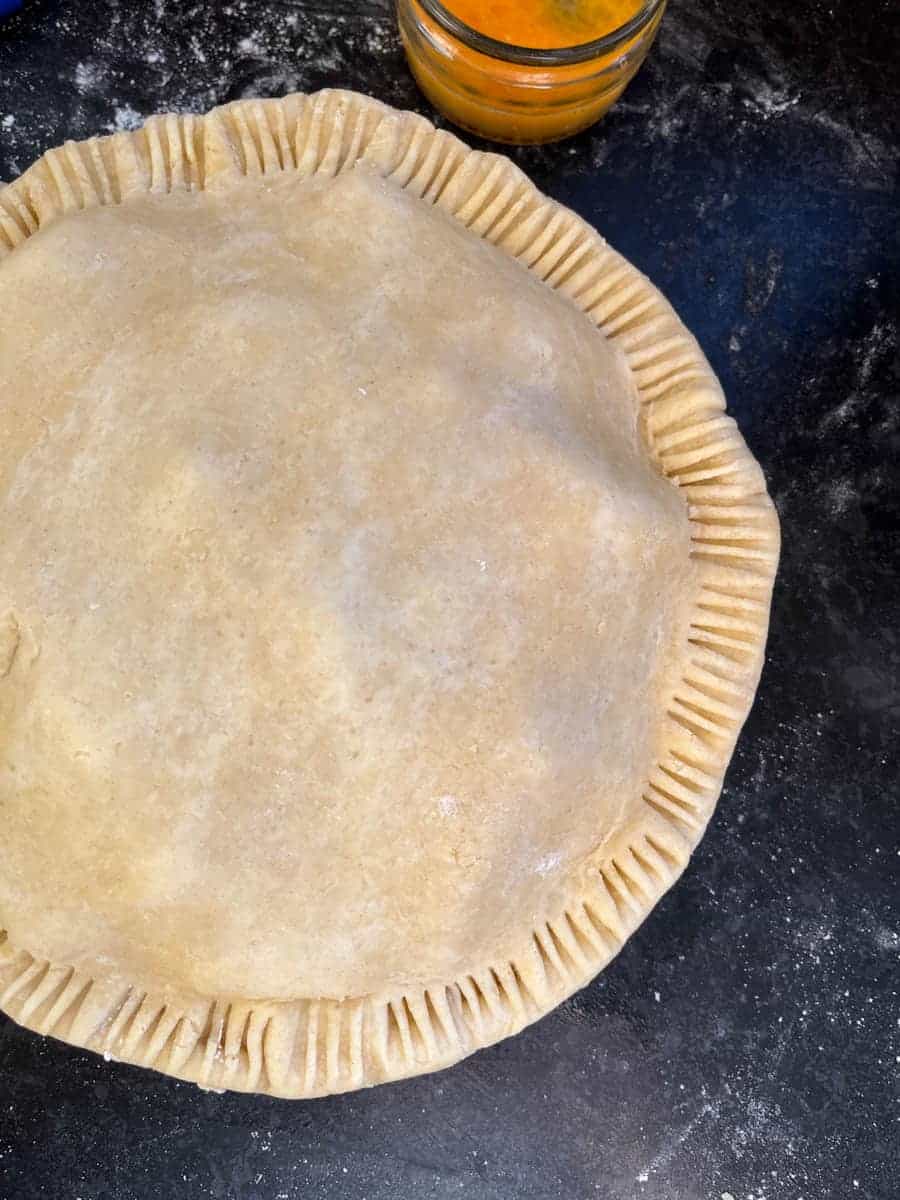
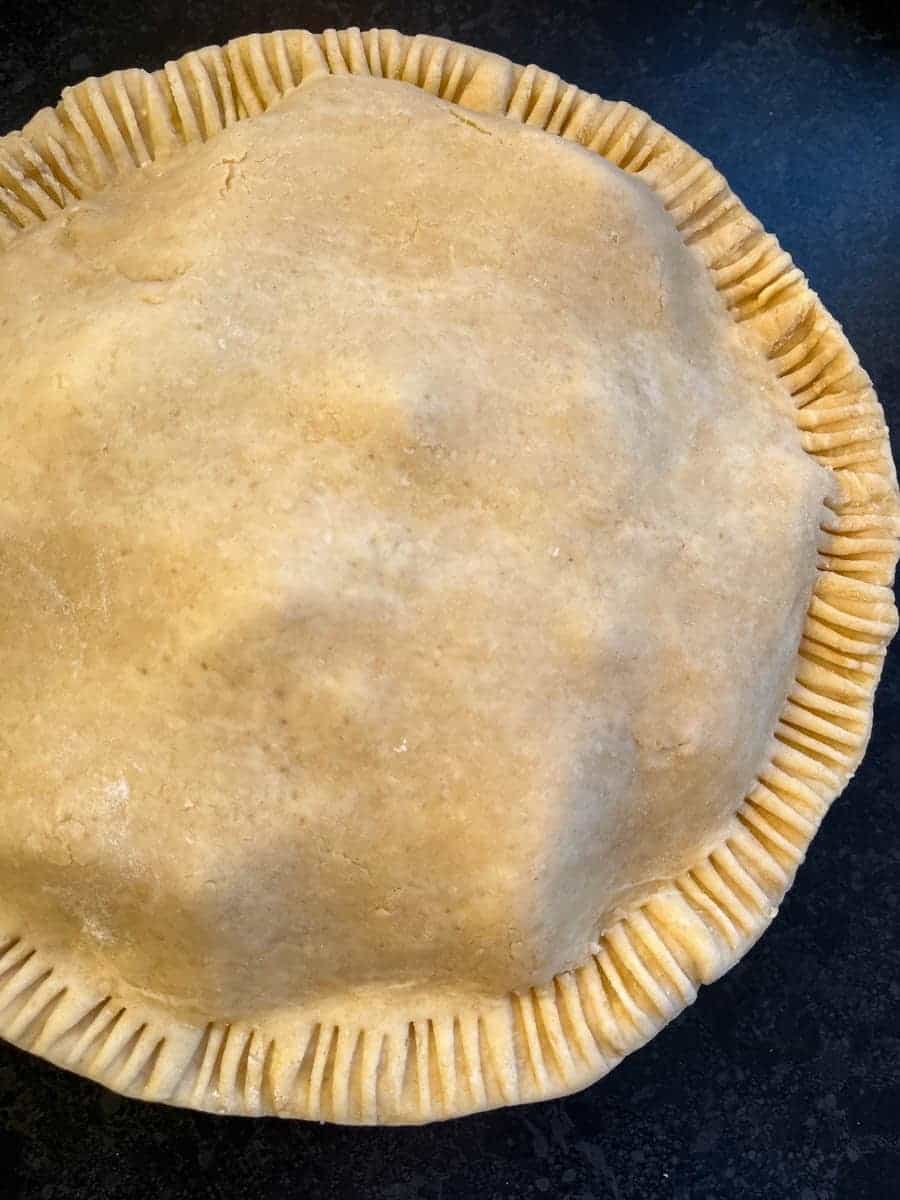
Crimp the edges using your fingers or press them down with a fork. Place the pie back in the fridge for a minimum of 30 minutes or the freezer for 15 minutes. Preheat the oven to 200C/180Fan/400F/Gas mark 6 and place a large baking sheet inside the oven.
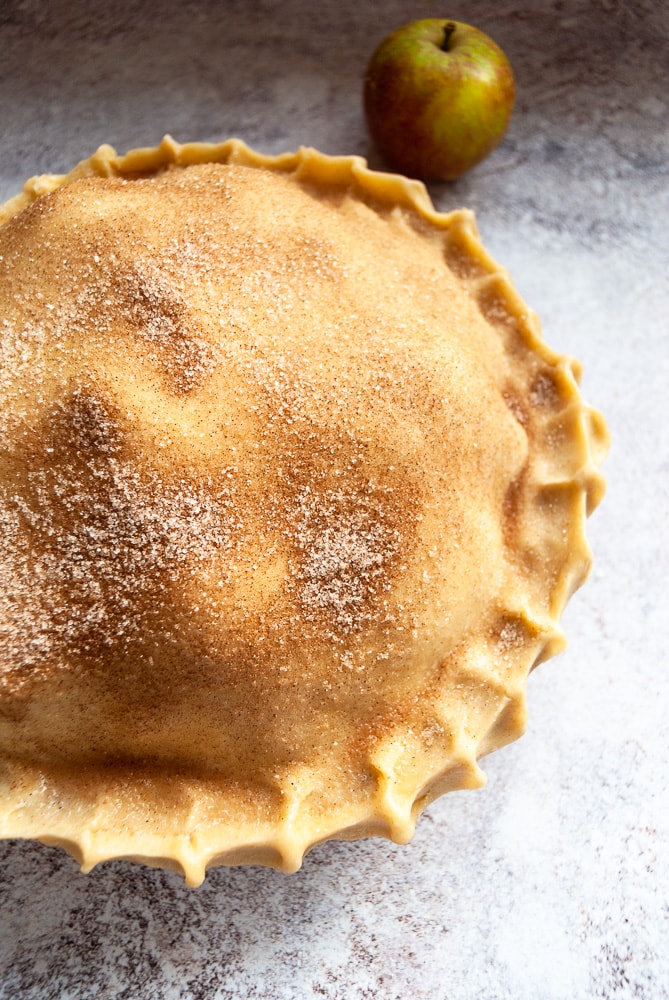
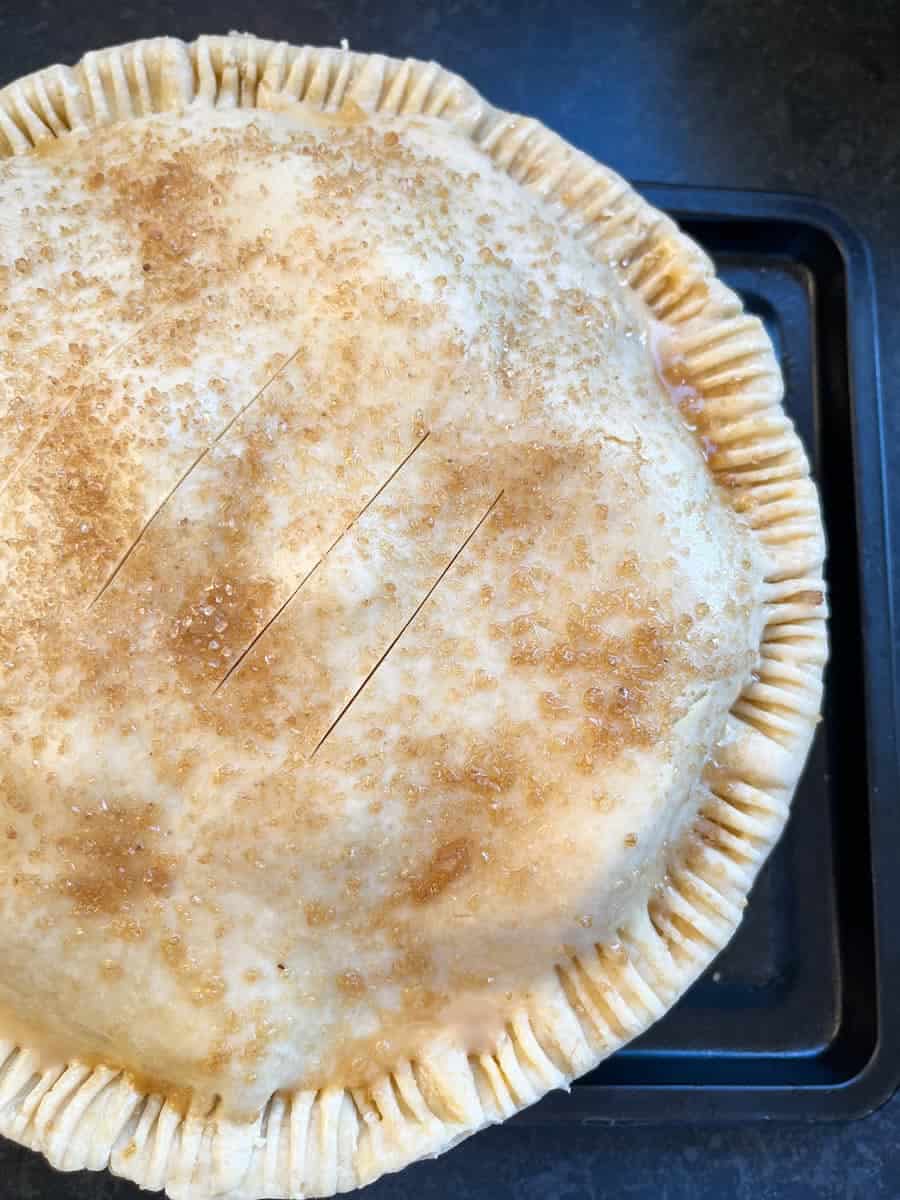
Step 9 – Remove the pie from the fridge or freezer. Take a sharp small knife and cut a few slits in the top of the pie to allow the steam to escape. Brush the pie with beaten egg or milk, then sprinkle with sugar.
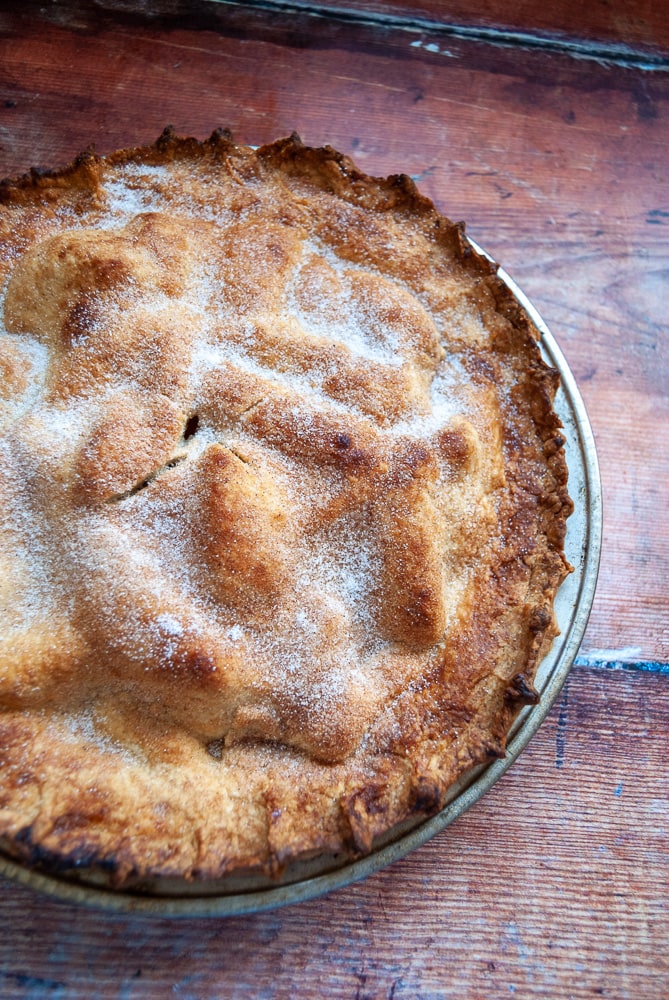
Step 10 – Bake the pie at 200C/180 Fan/400F for 25 minutes, then turn down the oven to 180C/160 Fan/350F and bake for 30-35 minutes or until the pastry is crisp, golden and the apple juices are hot and bubbling.
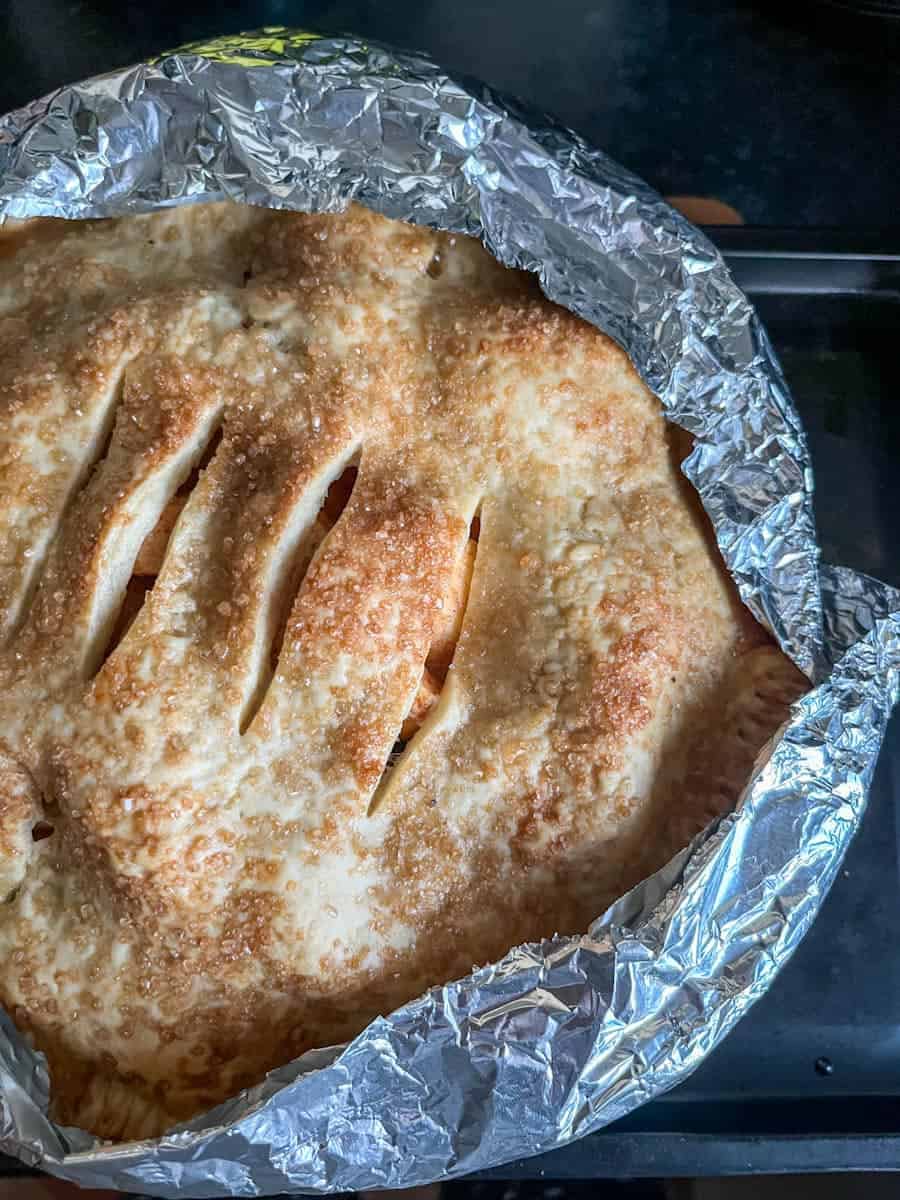
TIP – If at any stage the pastry is beginning to turn too dark around the edges, take a long piece of tin foil, fold it in half and carefully wrap it around the edge of the pie.
expert tips
- An apple pie can take a minimum of one hour to bake. The top of the pie might seem baked, but if you take it out of the oven too early the underside can be soggy and underbaked. It can take anywhere from 60-75 minutes to bake depending on your oven.
- If the pie crust looks like it is browning too much, cover the rim with a long piece of folded tin foil to prevent the crust from burning.
- I find it helps to chill the assembled pie before baking – this helps prevent the pastry from shrinking in the oven. A minimum of 30 minutes, but an hour is perfect. You can also freeze the pie for 15-20 minutes.
- Don’t forget to glaze the pie with egg wash before baking. This gives the pie crust a lovely golden sheen. Some people use milk – this will result in a softer, paler crust.
how to avoid a soggy bottomed pie
To quote Dame Mary Berry, you don’t want a soggy bottom on your apple pie!
I avoid this terrible fate by adding a little cornflour to the apples. This thickens up the juices when the pie is cooking and will prevent the bottom of the pie crust turning soggy. I add the cornflour after coating the apples in the spiced sugar.
What is the best pie Dish to use?
The 3 main pie dishes available are metal, ceramic and pyrex. In my baking experience, I find a metal pie dish far better for cooking fruit pies. They might not be as pretty as ceramic pie dishes, but they conduct heat extremely well, leaving you with an evenly baked, crisp pie.
All you need to do now is decide what to serve with your apple pie – custard, ice cream or pouring cream! I love all these options, so what I choose depends on my mood at the time!
variations
Here are a few ideas when you feel like adding some “extra” to your traditional apple pie:
- make an apple and blackberry pie by throwing in 100g of fresh or frozen blackberries
- for an apple pear pie, swap some of the apples for fresh sliced pears
- Add some fresh or dried cranberries for an apple cranberry pie
- Add some raisins or chopped walnuts or pecans
If you love apples and blackberries together, then you might like the following recipes:
storing leftover pie
To store leftover homemade apple pie, cool the pie at room temperature, then cover the with tin foil, place it in the fridge and store for up to 2 days.
freezing
To freeze the whole pie: Wrap the pie tightly in plastic wrap and tin foil, then place in the freezer. It will keep well for up to 3 months.
To freeze individual slices: Wrap each slice in cling film and foil, then freeze. You can also freeze them in an airtight container.
more apple bakes to try
Easy Apple Pie

This easy apple recipe is simple, comforting and delicious. Tender chunks of sweet juicy apples enclosed in buttery, crisp pastry. A classic dessert that's universally adored!
Ingredients
- For the pie dough:
- 300g (1 cup + 3/4 cup + 2 tablespoons plain (all purpose) flour
- 1/2 teaspoon fine salt
- 1 tablespoon white sugar
- 175g (6.25 oz) very cold unsalted butter, cut into cubes
- 4-5 tablespoons iced water
- For the filling:
- 850g peeled, cored and sliced apples (please see notes below)
- 125g caster sugar (use 75g of sugar if not using Bramley Apples or if you know the apples are very sweet)
- 1/2 tsp ground cinnamon (optional)
- 1/2 tsp mixed spice (optional)
- 1/2 tsp fine salt
- 2 tbsp cornflour or plain flour
- 1 beaten egg mixed with 1 tbsp of milk, for glazing the pie
- 1 tbsp caster or demerara sugar for sprinkling on pie
Instructions
- Place the flour, salt and sugar in a mixing bowl and stir to combine. Add the cold cubed butter. Transfer to a bowl to the freezer for 10 minutes.
- Remove the bowl from the freezer. Rub the very cold butter into the flour mixture until you have a pebbly, rough mixture. You want some visible pieces of butter to remain, so don't work the mixture too much.
- Start to add the iced water - I start off by adding 4 tablespoons. Using a table knife, lightly mix the rough dough together without kneading until it just starts to hold together. If the mixture is dry and there are still lots of dry ingredients left in the bowl, add a little more water, a few drops at a time.
- Tip the mixture out onto a very lightly floured work surface. Start to bring the dough together using your hands. Don't work the mixture too much - you don't want to disturb the little butter pockets. By now you should have something that looks more like a dough instead of a rough mass of ingredients. The dough should be soft, moist but not sticky.
- Wrap the dough in cling film and transfer to the fridge for at least one hour to rest. Cut the dough into two equal pieces and place in the fridge for a minimum of 30 minutes.
- Once the pie dough has rested in the fridge, roll out one half on a lightly floured work surface (you need the dough a little larger than your pie plate.) Line a 9 or 10 inch pie plate with the dough. Pop the lined pie plate in the fridge while you peel the apples.
For the pie dough:
To make the filling and assemble the pie:
- Place the peeled and sliced apples in a large bowl and sprinkle over the sugar, ground cinnamon, mixed spice if using and a pinch of salt. Stir well to combine, then sprinkle over the cornflour and combine well again.
- Remove the pie plate from the fridge. Spoon the apples into the pie plate, pressing them down slightly to avoid gaps in the filling. It will look like too many apples, but go with it. Brush the edge of the pie dough with beaten egg. This will secure the top part of the dough to the bottom. Transfer the pie to the fridge while you roll out the second portion of dough.
- Remove the second piece of pie dough from the fridge and roll out. Carefully lift up the rolled out dough and place over the top of the apples. Press firmly all round the edge of the pie plate to seal the edges. Using a sharp knife, trim any excess dough. The dough should be sitting flush against the rim of the pie plate. Using a fork or your thumb and forefinger, crimp the edges. Place the pie in the fridge for 30 minutes or the freezer for 15 minutes.
- Preheat the oven to 200C/180Fan/400F and pop a baking sheet on the middle shelf.
- Remove the pie from the fridge or freezer. Using a very sharp knife, cut a few slits in the lid to allow steam to escape. Brush the pie all over with the beaten egg or milk mixture and sprinkle with sugar.
- Place the pie on the preheated baking sheet and bake for 25 minutes, then turn down the oven to 180C/160Fan/350F and bake for a further 30-35 minutes or until the pie is crisp, golden and the juices are bubbling. If the pie crust is becoming too brown at any time, cover the top of the pie with a piece of tin foil.
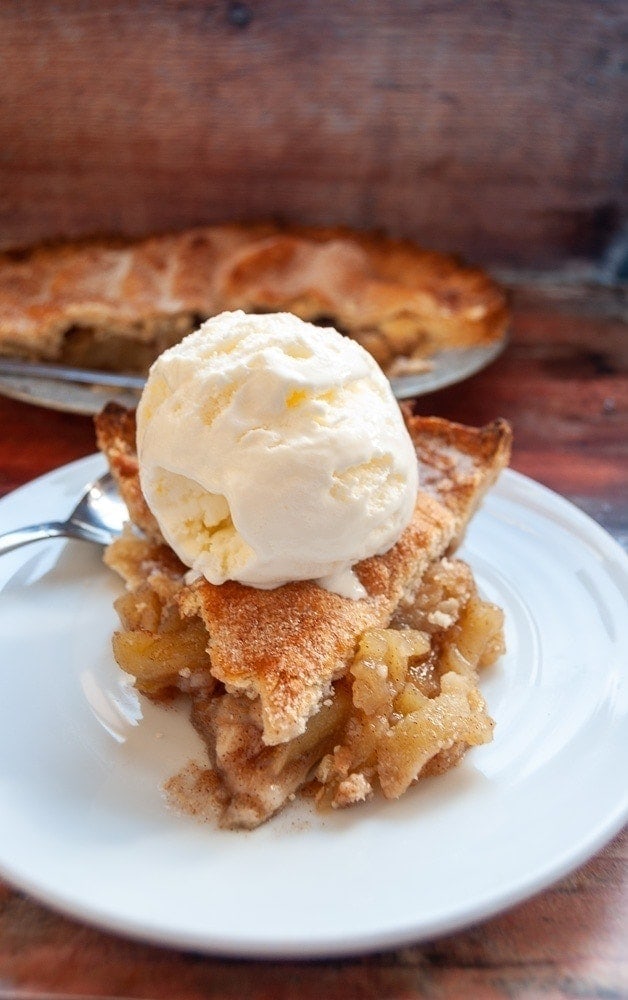
- Serve the apple pie warm with custard, cream or ice cream. For neat slices, cool the pie completely before cutting.
Notes
Type of apples to use: I like to use a 50/50 mixture of cooking apples (Bramleys) and eating apples for apple pie. Royal Gala, Golden Delicious, Pink Lady, Mcintosh, Braeburn and Cox's are all good choices.
Storing: Any leftover pie can be stored in the fridge for up to 2 days. Cool the pie at room temperature, then loosely cover with tin foil and refrigerate.
Freezing: To freeze the whole pie, tightly wrap in cling film and tin foil and freeze for up to 3 months. Defrost overnight in the fridge before baking.
Variations:
- For apple and blackberry pie, add 100g fresh or frozen blackberries (no need to defrost)
- For apple cranberry pie, add 100g fresh or dried cranberries
- Add 80g raisins for apple raisin pie
- To make an apple pear pie, swap some of the apples out for fresh sliced pears
Nutrition Information:
Yield:
8Serving Size:
1Amount Per Serving: Calories: 413Total Fat: 24gSaturated Fat: 13gTrans Fat: 0gUnsaturated Fat: 9gCholesterol: 70mgSodium: 385mgCarbohydrates: 51gFiber: 3gSugar: 37gProtein: 2g
Calories and nutritional information are provided by a third party application and should be viewed as indicative figures only.
Definitely going to try this, and soon!
hope you enjoy it 🙂