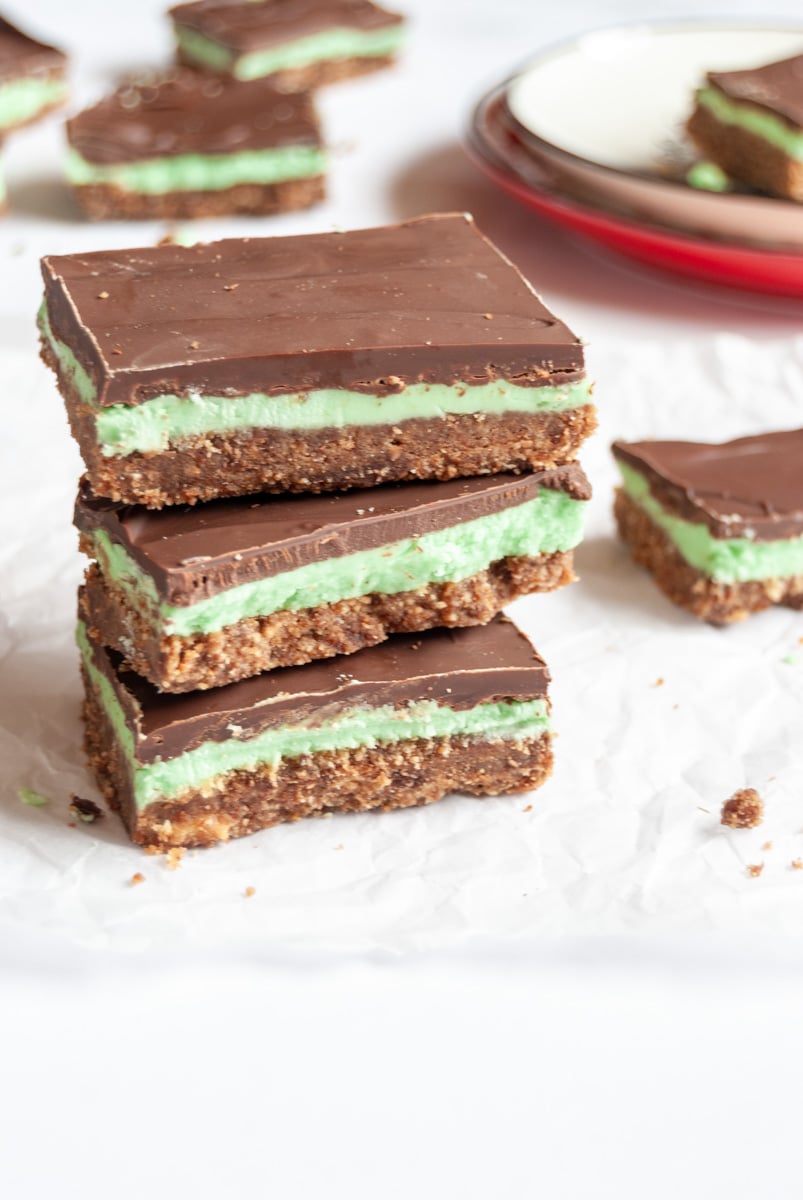
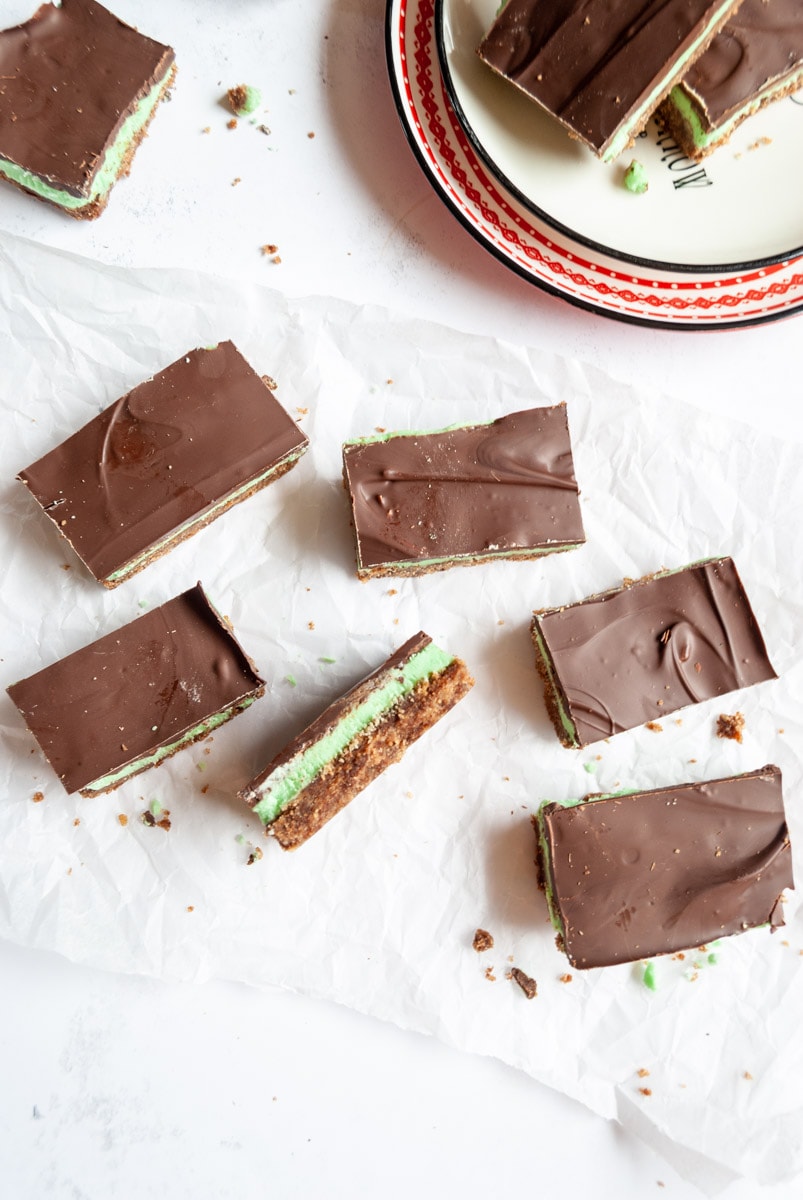
I love an easy traybake and this no bake peppermint slice is one of my most requested and most loved recipes. A crumbly biscuit base, creamy peppermint filling and a rich chocolate topping. It’s not surprising it’s so popular!
I love a traybake recipe. They are so easy to prepare, making them ideal for bake sales, parties or just when you fancy a treat but don’t have loads of time to spend making something.
If they happen to be no bake, then that’s even better!
My no bake chocolate orange traybake and Biscoff rocky road are just a couple of my most popular traybake recipes. They don’t last five minutes in my house!
A peppermint slice is one of my childhood favourites. They sold it in school and it was always my first choice, closely followed by the fabulous School dinner cake, Mars Bar slice and chocolate concrete! Those were the days!

I LOVE mint chocolate of all kinds – especially Bendick’s bittermints or a peppermint crisp bar. Do you remember the Terry’s Pyramint way back in the early 80’s? My idea of heaven!!
My no bake mint Aero traybake is one of my oldest and most loved recipes on here, so it seems like I’m not alone in my love of mint chocolate. If the idea of a fudgy mint chocolate cake appeals, you might want to take a look at my easy mint chocolate cake recipe.
I’ve wanted to post this peppermint slice recipe for such a long time, but whenever I make it I don’t get a change to take any photographs – it disappears FAST. The sign of a great recipe.
So I made this over the weekend and made my boys promise they wouldn’t dive in until I took some photos. I did them on Sunday afternoon and it was half gone by the evening. I suspect it might be the same story in your house, especially if you have teenagers….
ingredients for peppermint slice
This is a quick list of the ingredients you’ll need to make this recipe – keep scrolling to find a printable recipe card with ingredient amounts and detailed instructions!
for the base
- butter
- golden (corn) syrup
- caster sugar
- cocoa powder
- digestive or rich tea biscuits
for the peppermint filling
- icing (powdered) sugar
- peppermint extract
- milk
- very soft butter
- green food colouring
for the topping
- dark or milk chocolate. Unlike myself, my boys aren’t keen on very dark chocolate, so I use half milk and half dark.
- vegetable or sunflower oil (see my notes below on why I add this to the chocolate)
recipe notes
- The base is made up of crushed plain biscuits, such as digestive or rich teas, butter, cocoa powder and golden syrup. I also add a little caster sugar to make up for the bitterness of the cocoa. You can omit the cocoa if you wish – it’s not essential.
- When I first tested this recipe I made the base with condensed milk. It tasted good, but it was just too soft and gooey for our taste. My taste testers duly agreed – the crumbly biscuit base was much better.
- You’ll need to chill the base for at least 30 minutes or until it is firm before adding the peppermint layer.
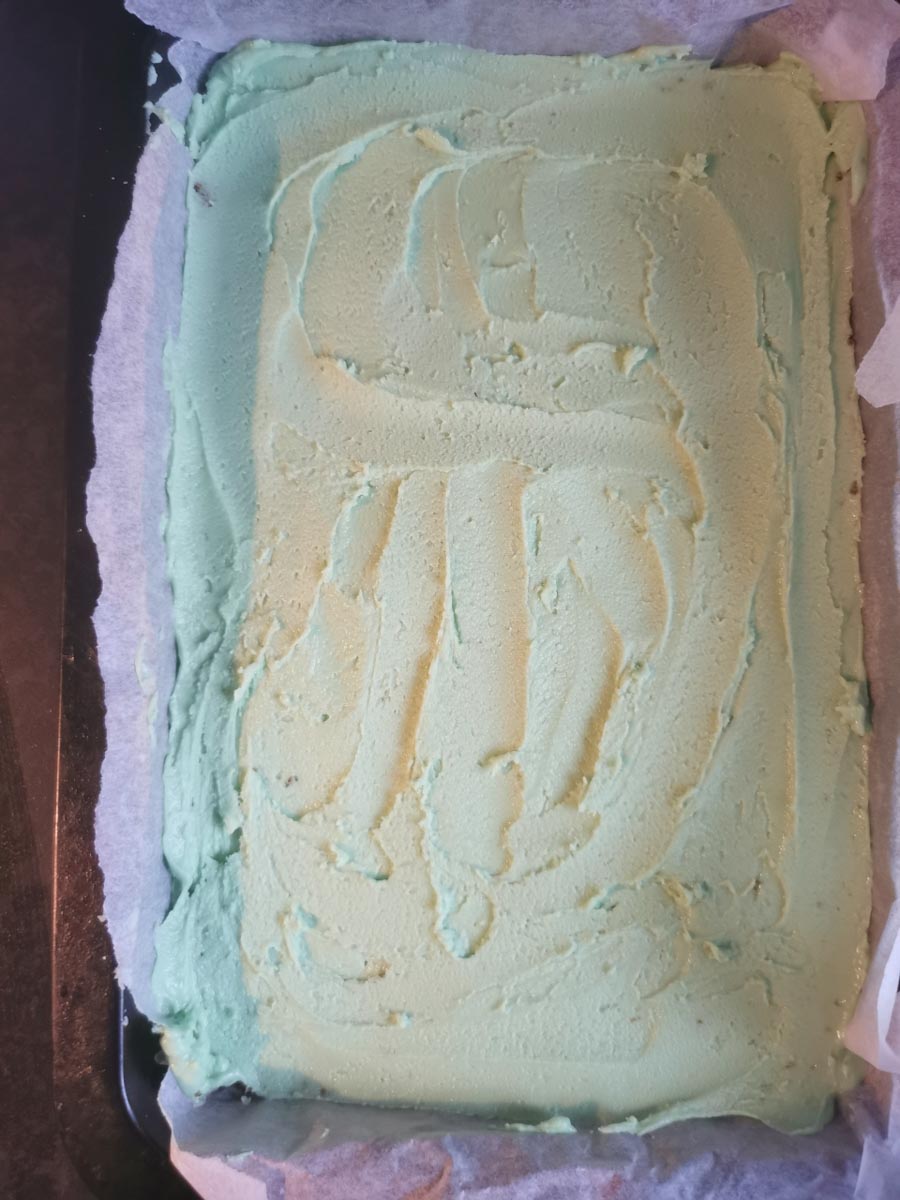
- The peppermint filling is super easy to make. All you need to do is mix together icing sugar, soft butter, milk, peppermint extract and green food colouring paste until you have a smooth, spreadable filling. You might need to add a tiny bit of hot water to reach the right consistency.

- The food colouring is optional – you don’t have to add it. But I wanted this peppermint slice to be reminiscent of the one I remember from my childhood. Plus I’m a child of the eighties, so I’m not against a tiny amount of food colouring every now and then!
- To keep the young people happy, I use half milk and half dark chocolate for the topping. If the recipe was just for me, I would use all dark chocolate. But alas, I must share so I must take other people’s feelings into consideration.
TOP TIP – When melting the chocolate, add about half a tablespoon of vegetable or sunflower oil. This will prevent the chocolate from cracking when you cut the traybake.
storing
Mint slice will keep in an airtight container for about one week. It’s best stored in the fridge so the soft mint filling doesn’t become too gooey.
did you make this peppermint slice recipe?
I hope you enjoyed it! Please let me know your thoughts by leaving a comment below and rate the recipe by clicking on the stars in the recipe card.
more no bake recipes to try
Peppermint Slice

This easy no bake Peppermint slice is one of my all time favourite reto recipes. A crumbly biscuit base topped with a creamy peppermint filling and a rich chocolate topping. It's pretty impossible to resist!
Ingredients
- FOR THE BASE:
- 140g butter
- 2 tablespoons cocoa powder
- 2 tablespoons golden syrup
- 1/2 tablespoon caster sugar
- 350g digestive biscuits, cushed (I blitz them in a food processor)
- FOR THE FILLING:
- 300g icing sugar
- 2 tablespoons very soft butter
- 2 tablespoons milk
- 1 1/2 or 2 teaspoons peppermint extract (or add more to taste)
- 1/8 teaspoon green food colouring paste, optional (I literally dipped a knife into the pot and added the tiniest amount - you don't need much at all)
- 1 teaspoon boiled water to reach a spreadable consistency (you might not need this)
- FOR THE TOPPING:
- 200g dark or milk chocolate (or a mixture of the two)
- 1/2 tablespoon vegetable or sunflower oil
Instructions
- Grease and line a 22x22cm baking tin with baking parchment.
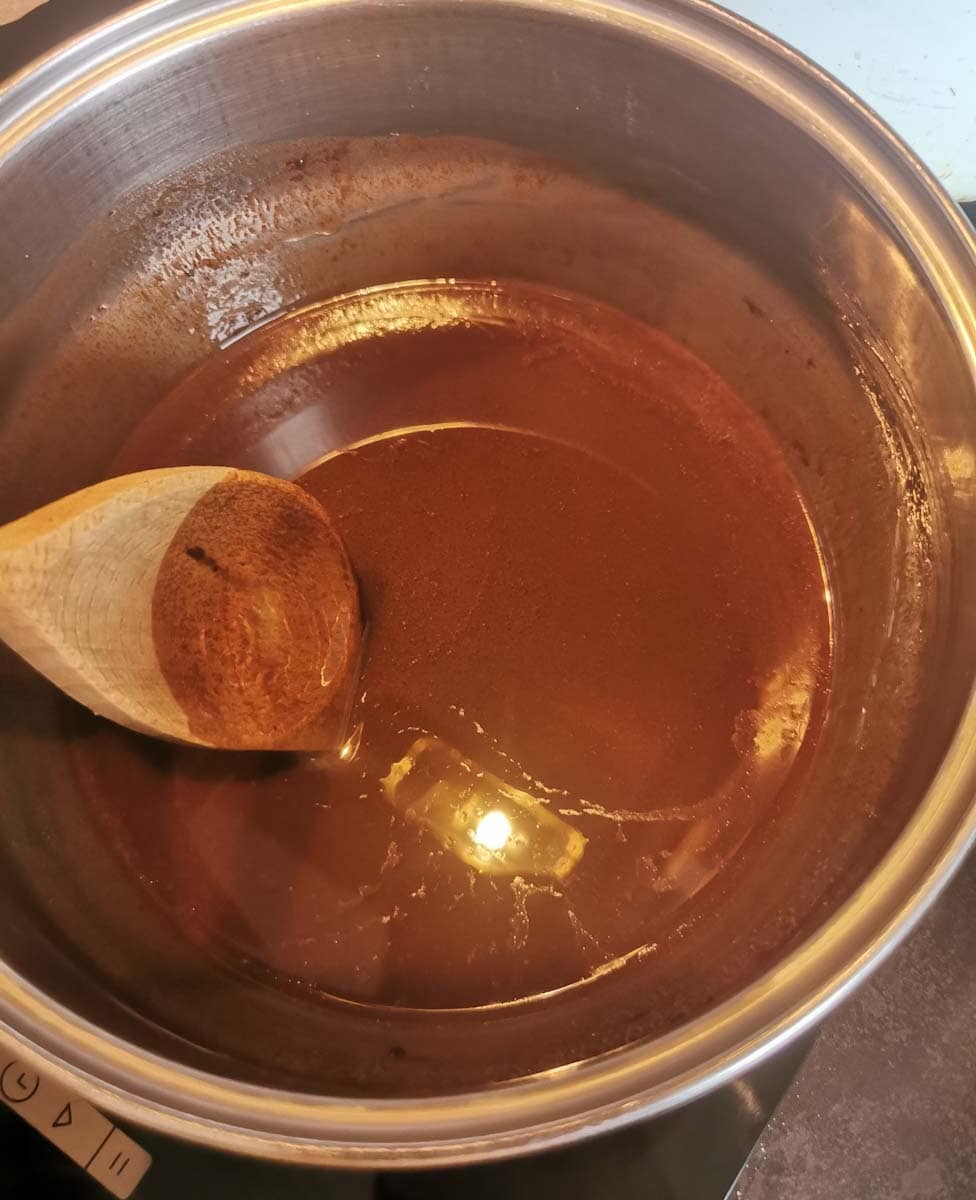
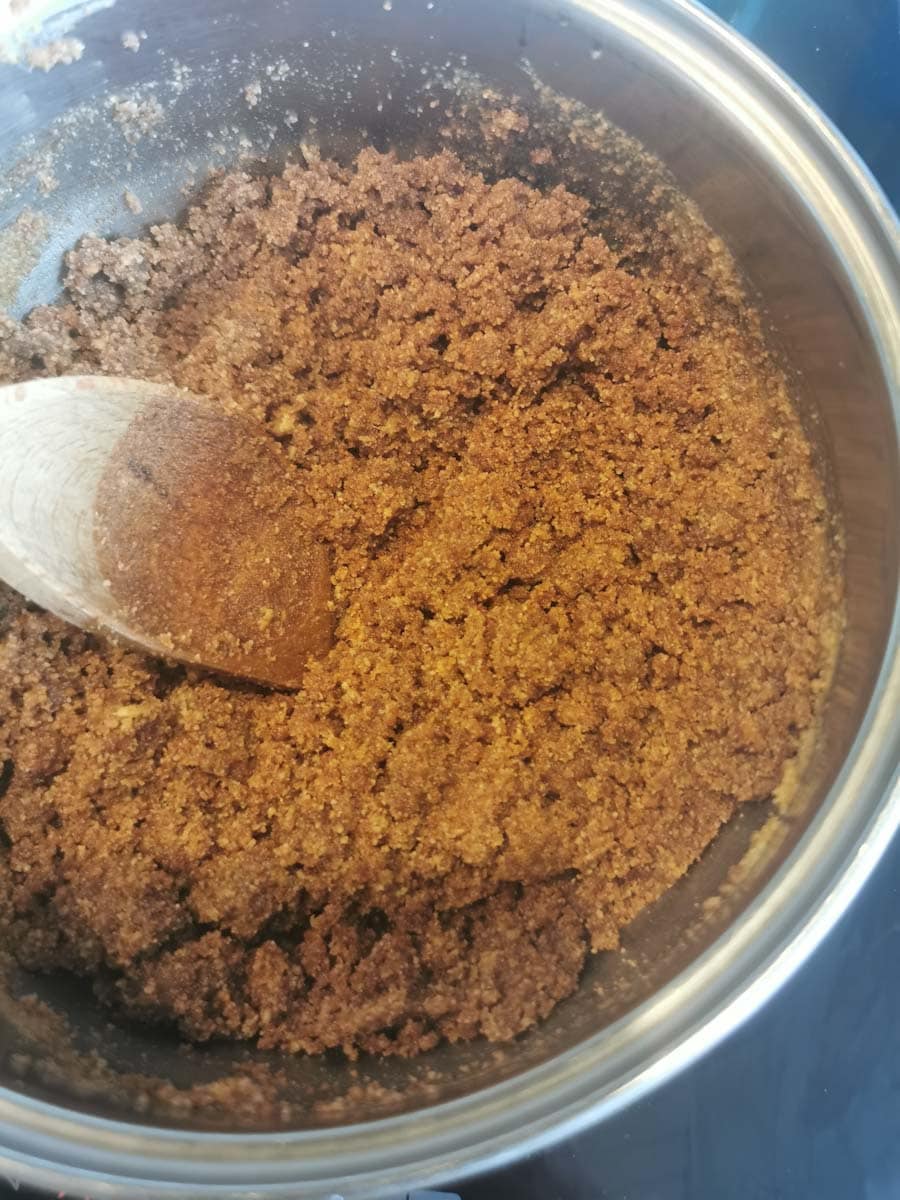
- Melt the butter, cocoa powder, golden syrup and sugar together in a large saucepan over a low heat, stirring occasionally. Don't allow the mixture to become too hot. Once everything has melted and is smooth, tip in the crushed biscuits and stir well.
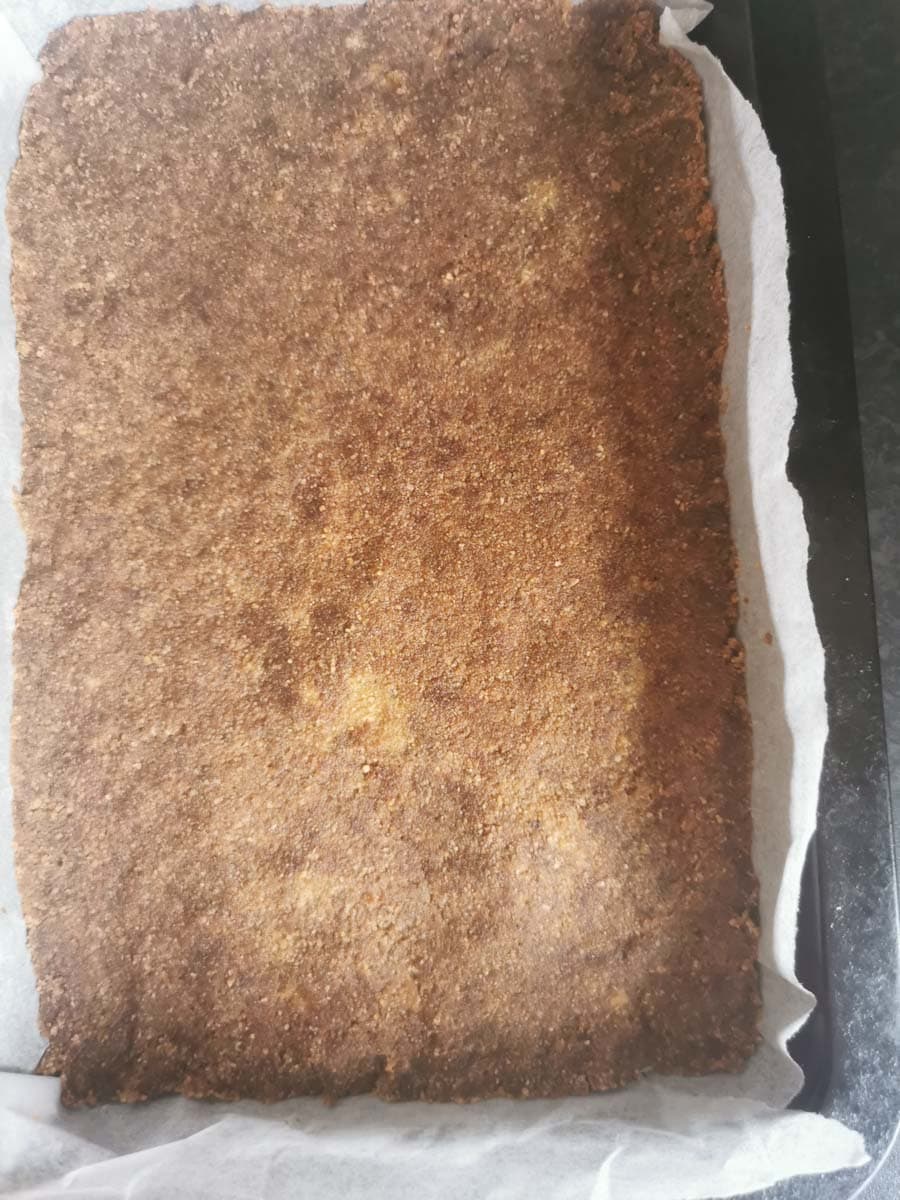
- Tip the mixture into the lined tin. Take a large spoon and press the base firmly into the tin as evenly as possible. Place in the fridge and leave for at least 30 minutes.
- To make the peppermint filling sift the icing sugar (I'll be totally honest and admit I don't do this as I find my stand mixer eliminates any small lumps) into a bowl or place in the bowl of a free-standing mixer. Add the melted butter, milk, peppermint extract and green food colouring, if using. Beat until the mixture is smooth. You should have a nice spreadable filling. If it seems too thick to spread, stir in a little boiling water, a teaspoon at a time, until spreadable. Have a taste to check if you want to add a little more mint extract (different brands vary in strength.)
- Remove the tin from the fridge and using a small palette knife, spread the pepermint filling over the base. Place in the fridge to set for around 30 minutes,
- For the topping, melt the chocolate and oil in a heatproof bowl set over a pan of barely simmering water. Pour the melted chocolate on top of the peppermint filling, tilting the pan to get an even covering. Allow to sit at room temperature for about 30 minutes before chilling for around one hour. Remove from the fridge and leave it for about 15-20 minutes for slicing into bars. This is to prevent the chocolate from cracking when you cut it.
Notes
This recipe will make about 14 bars, but if you want it to go further you could cut it into smaller squares (it's quite rich!)
I've also made this recipe in a 18x30cm/7x12inch baking tin. It makes the slices a little thinner, but it works well.
Peppermint slice will keep in an airtight container in the fridge for up to one week.
Nutrition Information:
Yield:
14Serving Size:
1Amount Per Serving: Calories: 393Total Fat: 21gSaturated Fat: 12gTrans Fat: 0gUnsaturated Fat: 7gCholesterol: 32mgSodium: 159mgCarbohydrates: 50gFiber: 1gSugar: 40gProtein: 3g
Calories and nutritional information are provided by a third party application and should be viewed as indicative figures only.
How long can this be kept for please?
Hi, it keeps in an airtight tin for about a week 🙂
Made this for my sister’s birthday as she loves mint. Everybody loved it. It was a real treat and everyone wants the recipe.
I’m so glad it went down well! Thanks for letting me know 🙂